

How to Register for A2P 10DLC
Register your brand and messaging campaign with CloudContactAI to send SMS messages.
Overview
Mobile carriers require businesses sending SMS messages in the United States to complete A2P 10DLC registration. The process verifies your business identity as a Brand and your messaging use case as a Campaign with TCR.
Complete the following before you register:
- Create an active CloudContactAI account.
- Select a paid subscription.
- Verify a phone number on your account.
After your brand and campaign are approved, assign phone numbers and begin sending messages.
Prerequisites
Gather the following before you start. Incomplete or inaccurate submissions are a common cause of delays.
| Information | Requirements |
|---|---|
| Legal business name | Match your EIN or tax registration exactly. |
| EIN (Employer Identification Number) | Use the format 12-3456789. |
| Business website URL | Make sure the site is publicly accessible. |
| Physical business address | Do not use a P.O. box. |
| Privacy Policy URL | Link directly to the policy page on your website. |
| Terms & Conditions URL | Link directly to the Terms & Conditions page. |
| Opt-in description | Include the consent method, specific URL or form location, and call-to-action text. |
| Compliance contact | Provide a name, email address, and phone number. |
1. Create your account
- Go to CloudContactAI registration.
- Enter your email address, password, and first and last name.
- Complete the reCAPTCHA.
- Select Create Account.
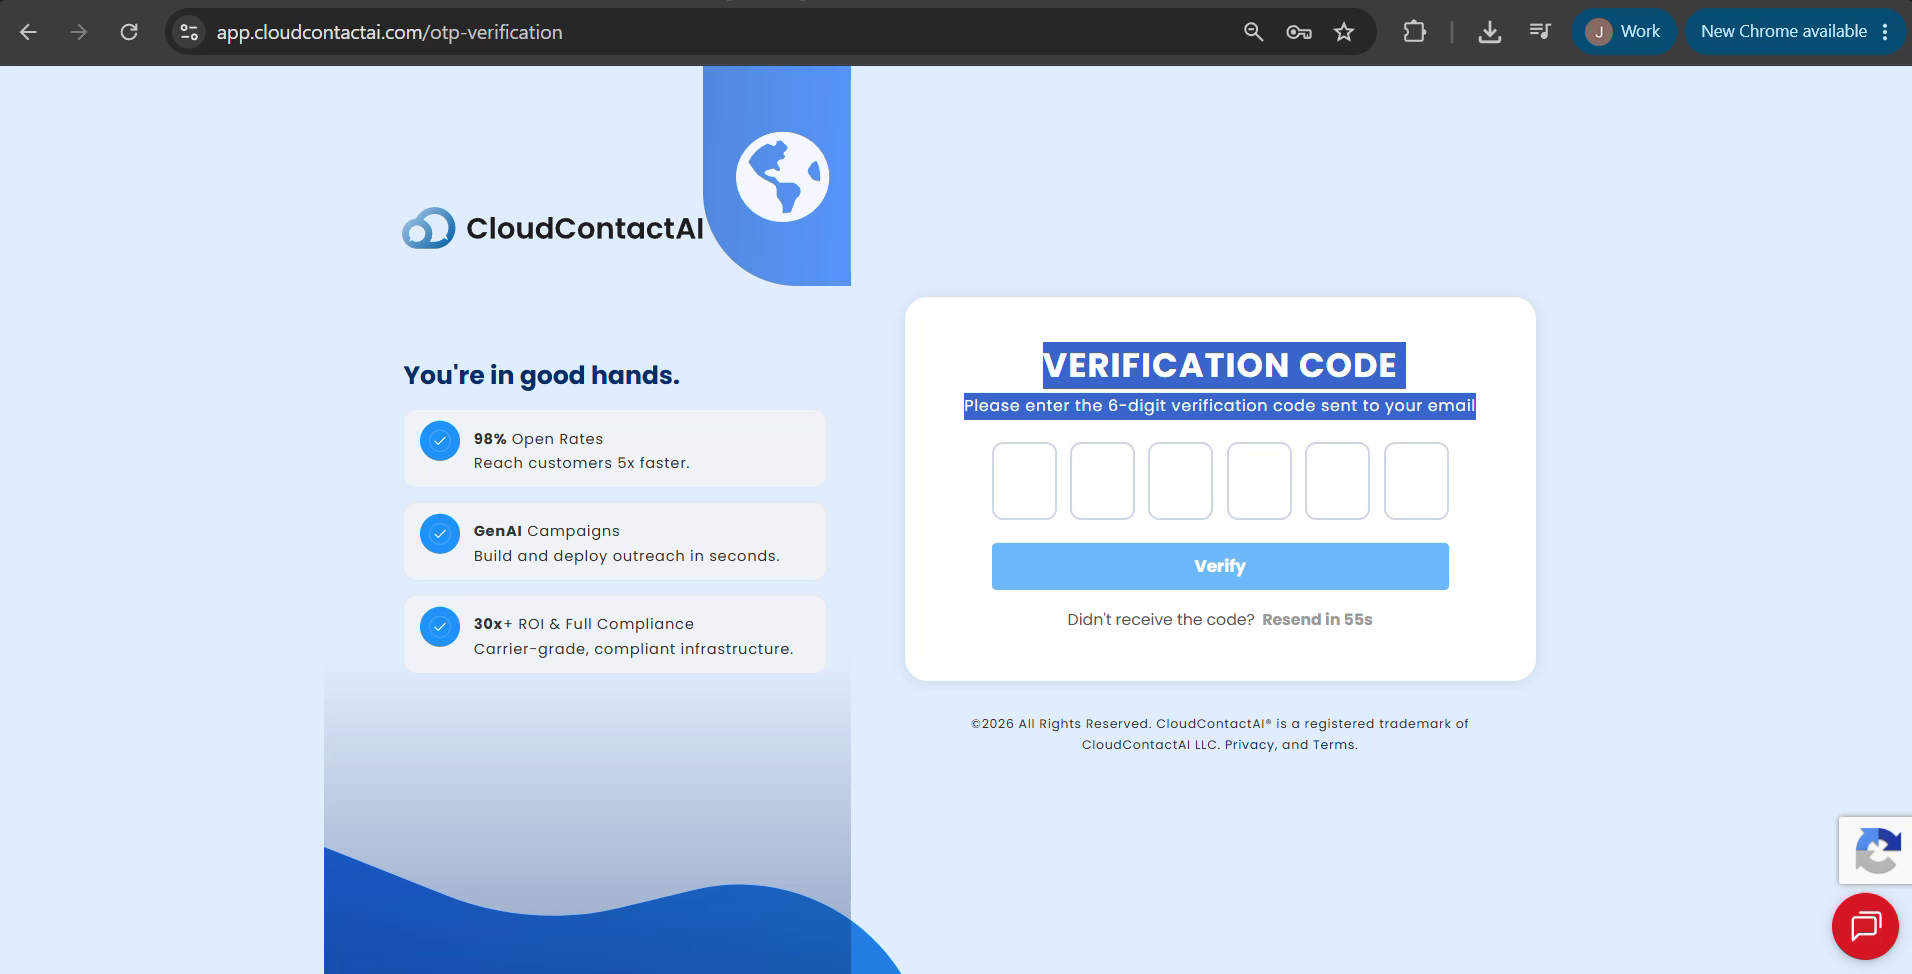
- A Verification Code is sent to the email address you used to register. Enter it into the Verification Code window. Select Verify.
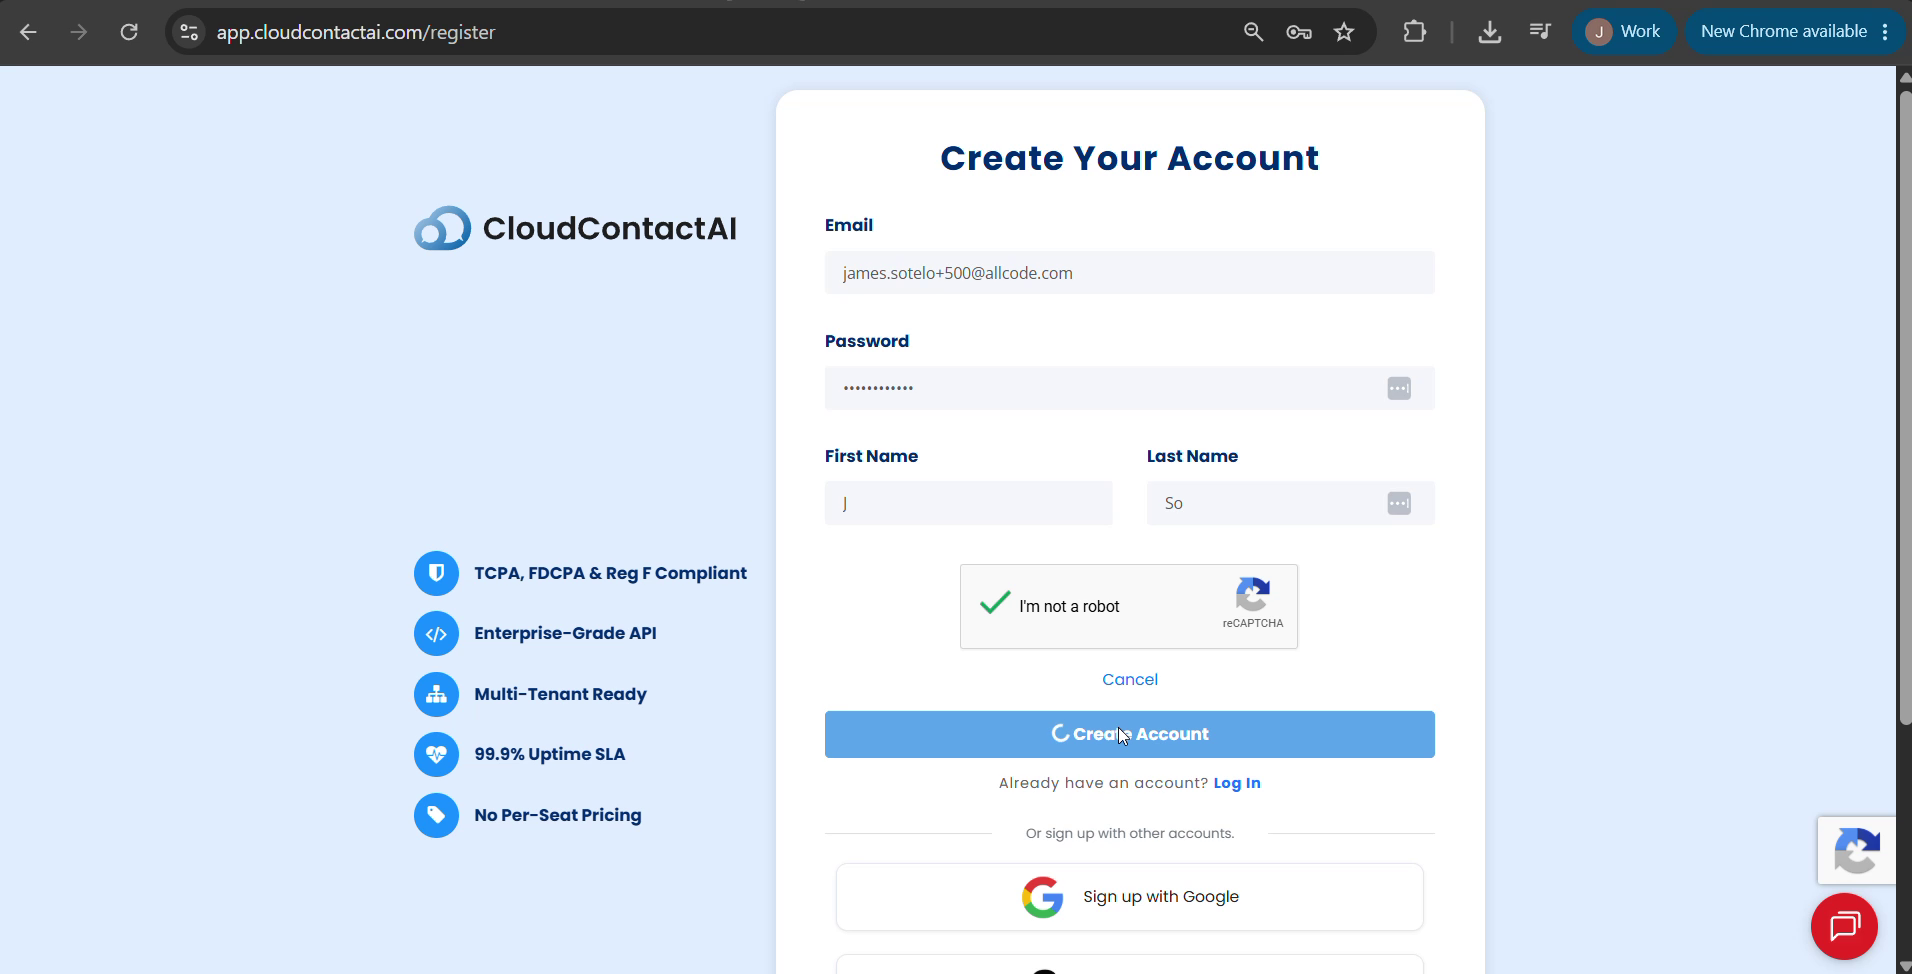
If you already have an account, log in. You can also sign up with Google or Amazon.
2. Select a subscription plan
A paid subscription is required to complete A2P registration and send messages.
-
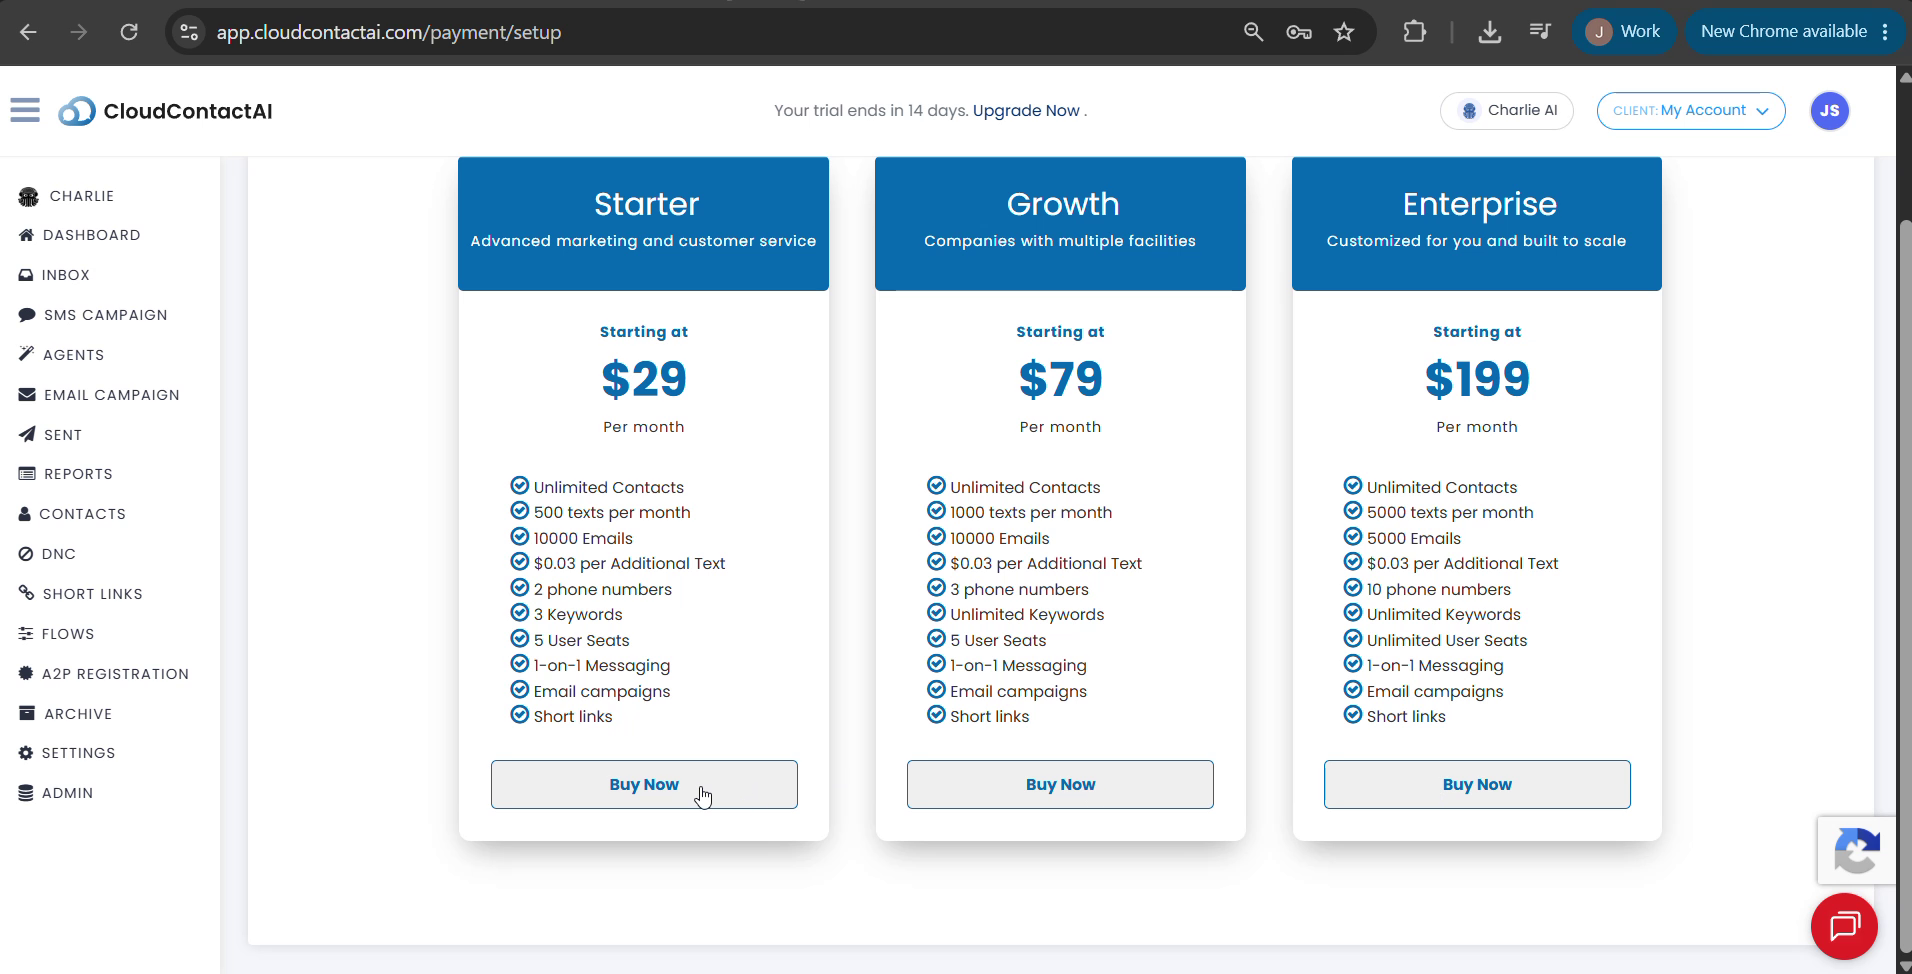
After you create your account, select the plan that fits your sending volume.
-
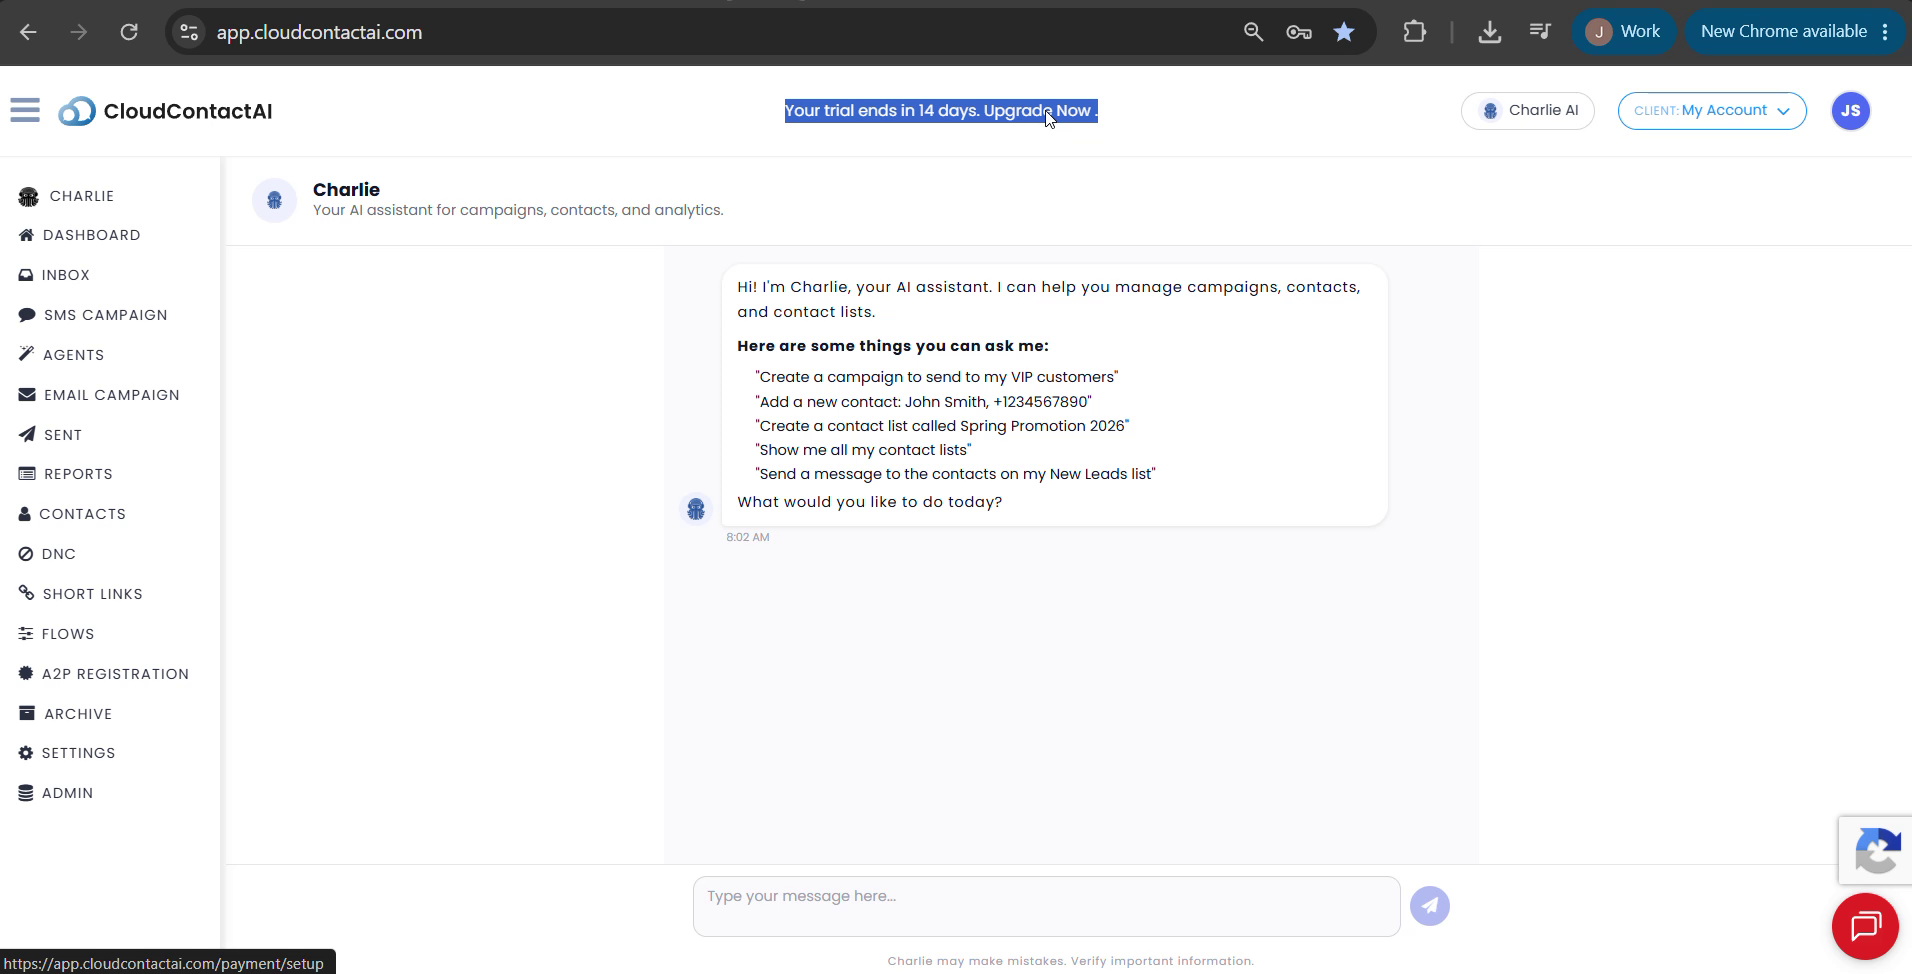
Select Upgrade Now banner at the top of the app to choose a plan.
-
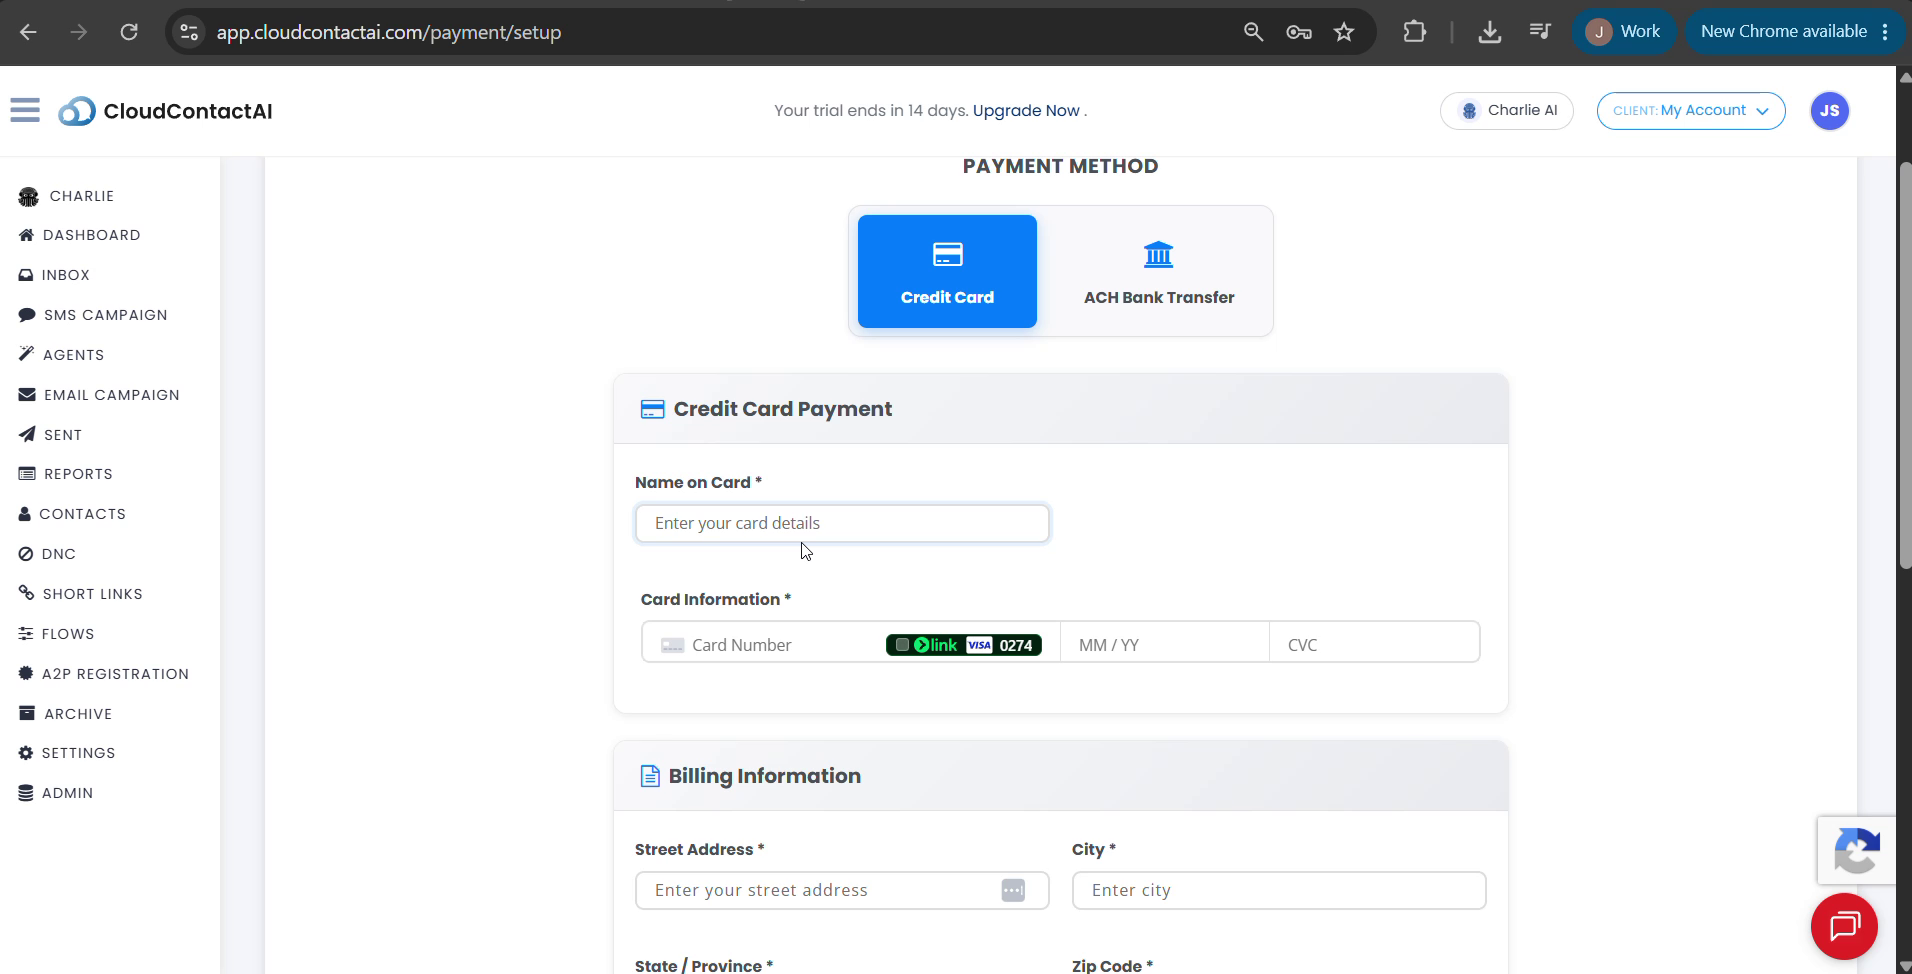
3. Set up your payment method
- Enter your payment details after selecting a plan.
- Choose Credit Card or ACH Bank Transfer.
- Complete the billing information form.
- Submit your payment information.
For credit cards, enter the card number, expiration date, CVC, and billing address. For ACH bank transfers, enter your bank account details.
4. Verify your phone number
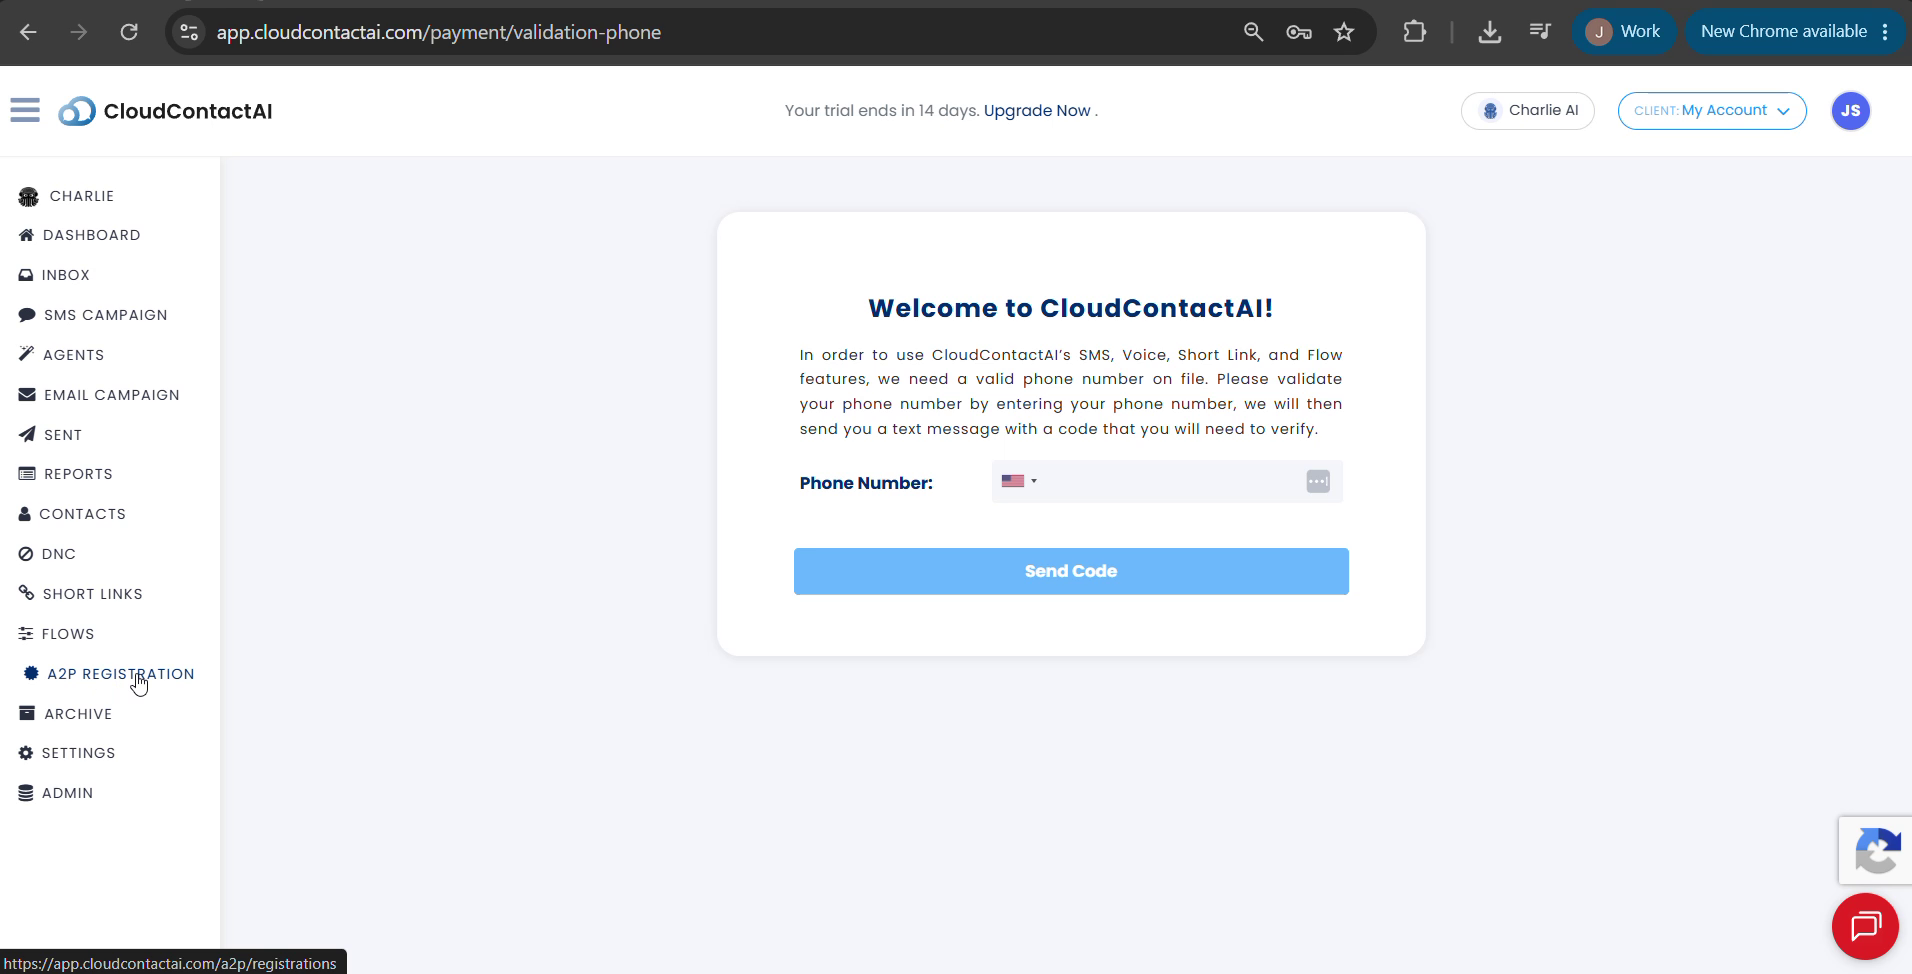
CloudContactAI requires a verified phone number to activate SMS, Voice, Short Link, and Flow features.
-
Enter your US phone number.
-
Select Send Code.
-
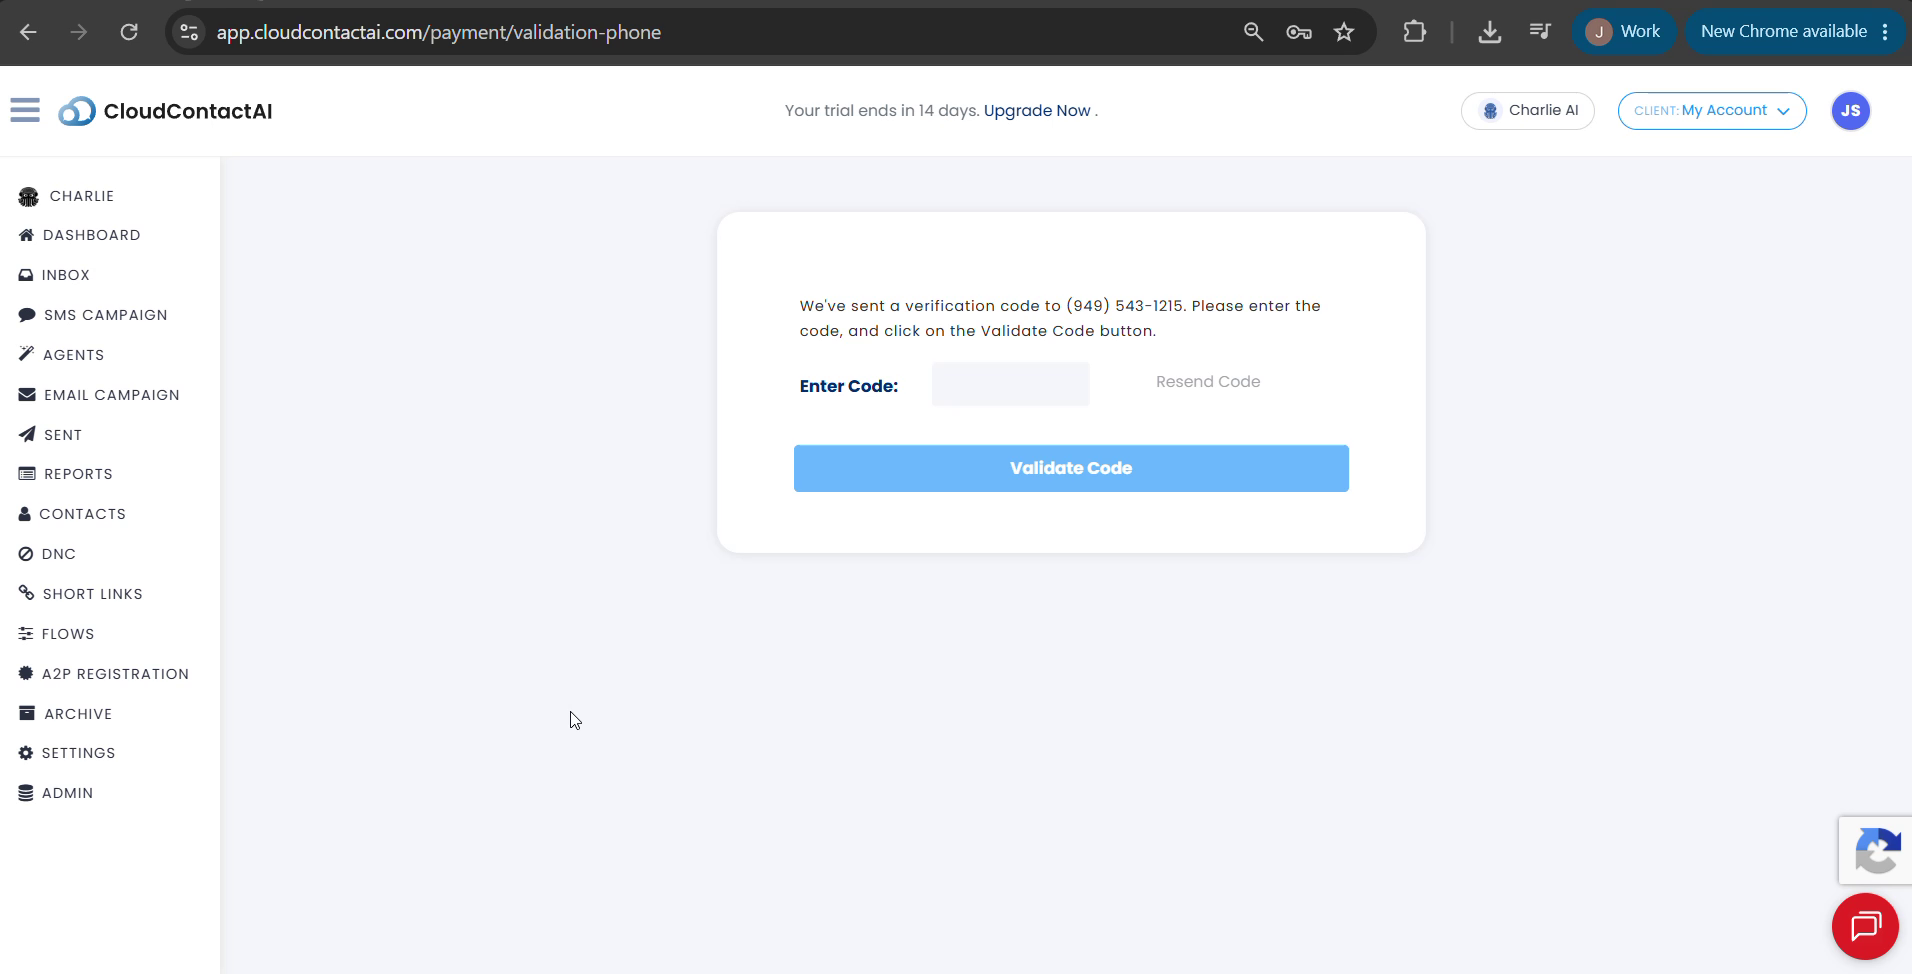
Enter the verification code sent to your phone.
-
Select Validate Code.
5. Open A2P Registration
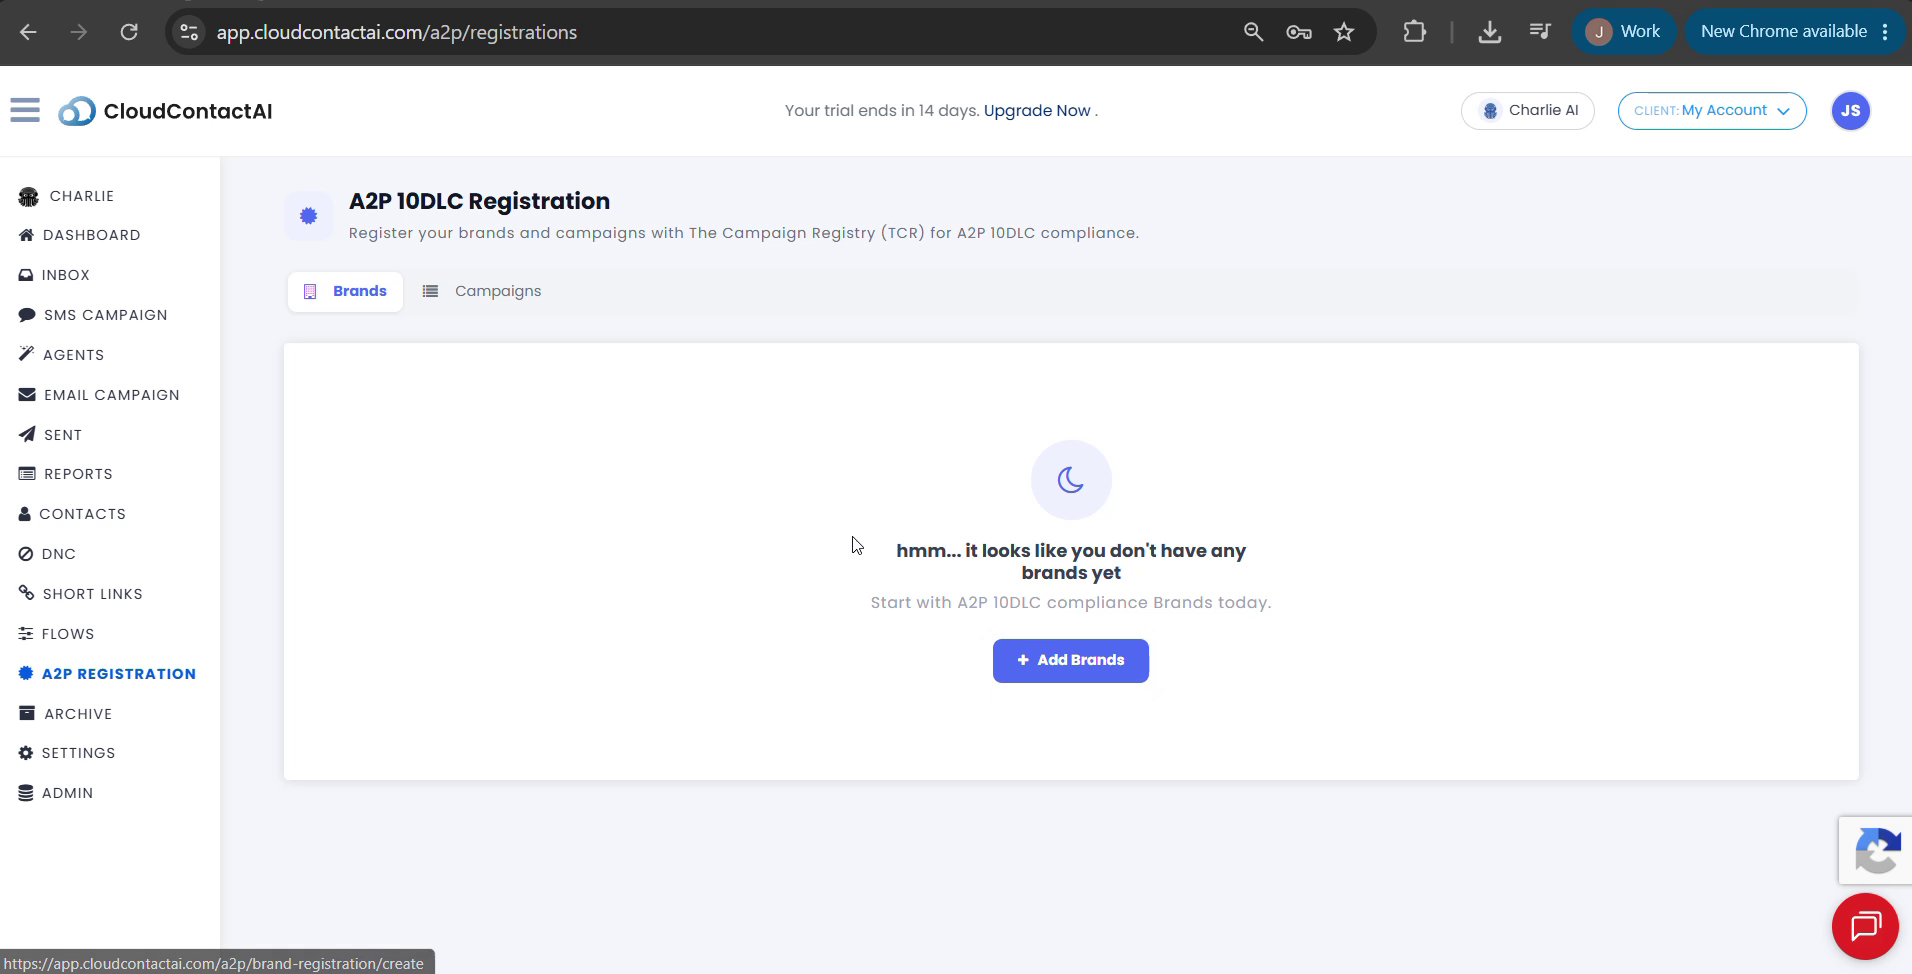
- In the left navigation menu, select A2P Registration.
- Review the available tabs: Brands and Campaigns.
- Select Add Brands
Register your brand before you create a campaign.
6. Register your brand
- On the Brands tab, select + Add Brands.
- Complete the four steps in the brand registration wizard.
Company Identity
| Field | Required | Notes |
|---|---|---|
| Brand DBA Name | No | Provide this only when it differs from your legal name. |
| Legal Company Name | Yes | Match your EIN or tax registration exactly. |
| Company Vertical | Yes | Select the industry that best fits your business. |
| Country of Registration | Yes | |
| Street Address | Yes | |
| City, State, Postal Code | Yes |
Regulatory & Tax
| Field | Required | Notes |
|---|---|---|
| Entity Type | Yes | Select the applicable type, such as LLC, corporation, sole proprietor, or non-profit. |
| Tax ID (EIN) | Yes | Use the format 12-3456789. |
| Website URL | Yes | Include https:// or http://. |
Your website must be publicly accessible and accurately represent your business. Make sure your Privacy Policy and Terms & Conditions pages are live and linked from your site.
Contact Information
| Field | Required |
|---|---|
| Contact First Name | Yes |
| Contact Last Name | Yes |
| Contact Email | Yes |
| Contact Phone | Yes |
Review and submit
- Review every field for accuracy.
- Submit your brand registration.
After submission, your brand shows Draft status while it is reviewed by the carrier. Review typically takes 1–3 business days.
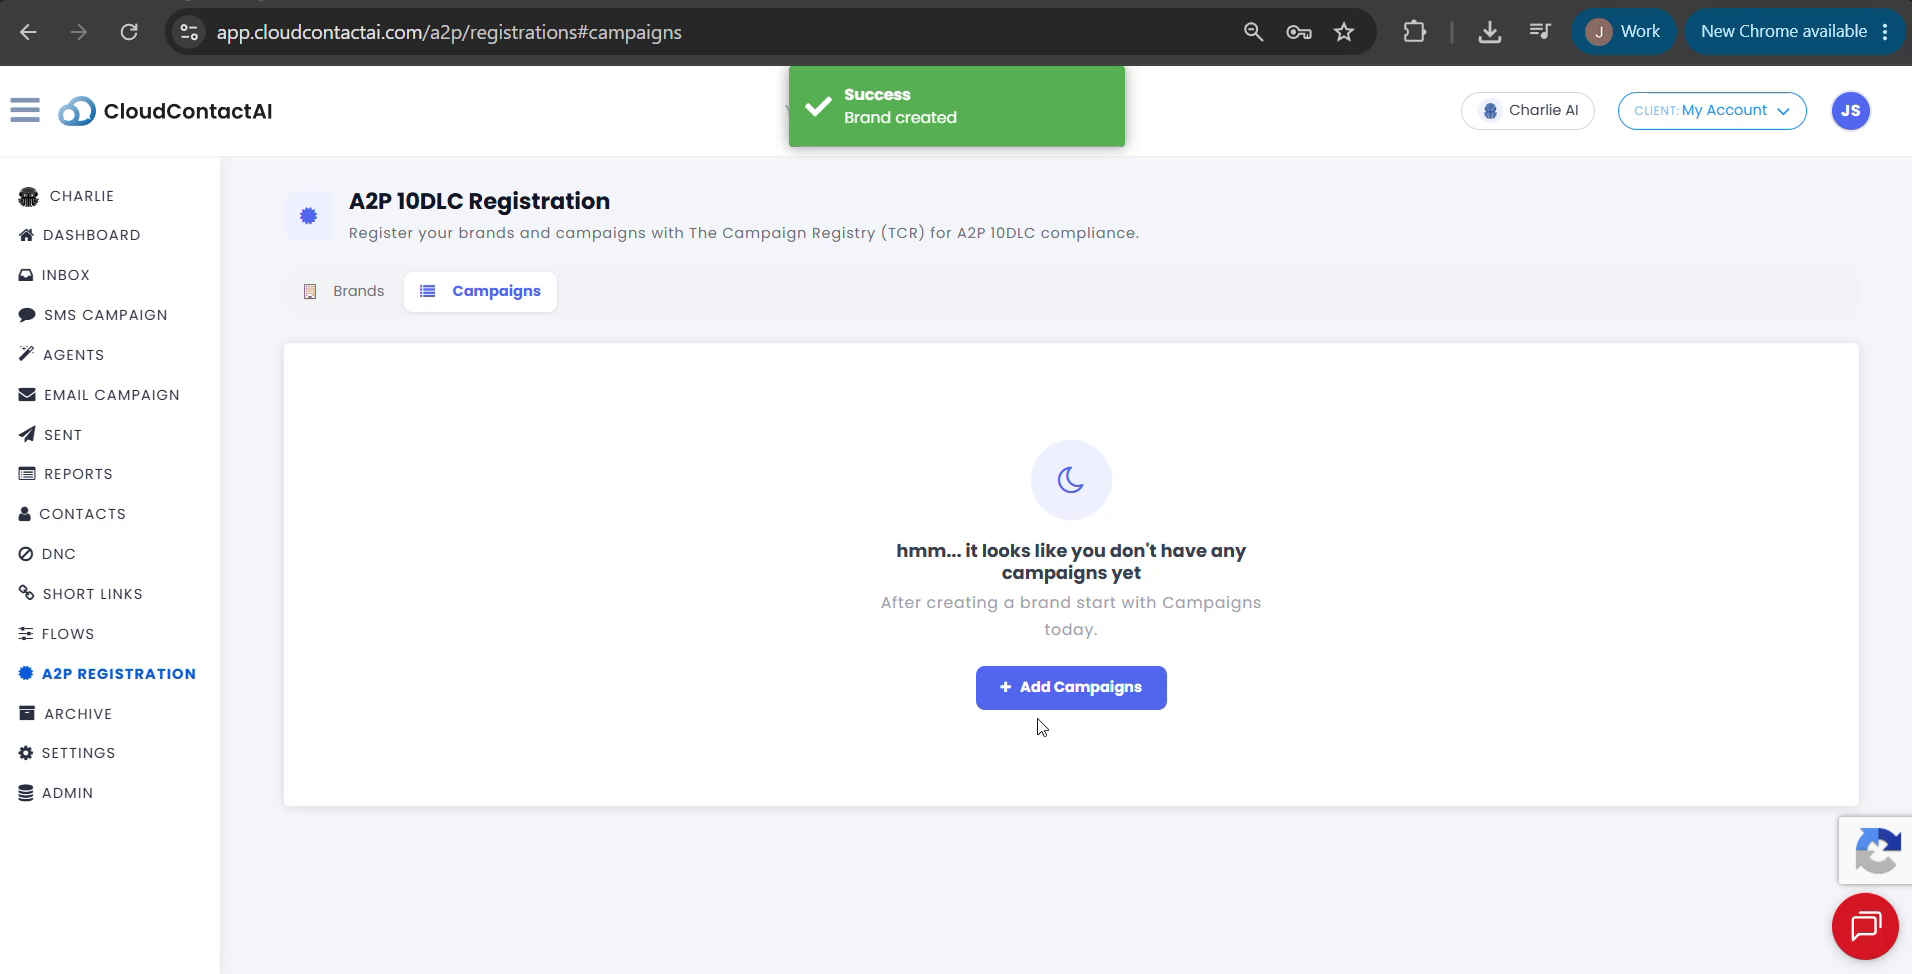
7. Create your campaign
-
Select the Campaigns tab.
-
Select Add Campaigns.
-
Complete the four steps in the campaign wizard.
Campaign Basics
Brand
Select your brand from the dropdown. Only verified brands appear in the list. You can save a campaign without a brand and link it after verification, but you cannot submit the campaign to the carrier until it has an associated brand.
Use Case
Select the category that best describes your messaging. Available categories include:
- Account Notification
- Customer Care
- Marketing
- Mixed (requires 2–3 sub-use cases)
- Other available use cases
Campaign Description
Enter a required description of up to 2,000 characters. Describe what the campaign does, who receives the messages, and the message types you will send. Keep the description consistent with your website and selected use case.
Select Draft with AI to generate a starting point, then edit the draft so it accurately represents your business.
Message Flow Description
Describe exactly how customers opt in to messages. Include:
- The opt-in method, such as a web form, SMS keyword, or verbal agreement.
- The specific URL or keyword.
- The exact call-to-action text customers see.
- Instructions for opting out, including
STOP.
Describe each method if you use multiple opt-in methods.
Terms & Conditions Link
Enter the direct URL to your Terms & Conditions page.
Privacy Policy Link
Enter the direct URL to your Privacy Policy page, including https:// or http://.
Message Samples
Provide the following message samples:
| Field | Required | Requirements |
|---|---|---|
Response to HELP keyword | Yes | Enter the response your system sends when a customer texts HELP. |
| Sample Message 1 | Yes | Maximum 320 characters. |
| Sample Message 2 | No |
Use placeholders for dynamic values. Do not include real phone numbers or URLs in sample messages. For example: [Name], [URL], [Phone], and [Amount].
Keywords
Configure opt-out and help keywords. Mobile carriers require STOP and HELP.
Attributes & Notes
Complete any remaining fields, then submit your campaign.
Registration status
| Status | Description |
|---|---|
| Draft | Submitted and pending carrier review. |
| In Review | Actively being reviewed. |
| Verified | Approved; the brand or campaign is active. |
| Failed | Rejected; review the reason and resubmit. |
Next steps
After both your brand and campaign have been submitted, a member of CCAI's compliance team will review your submission and reach out if they have any questions. Brand approval can take 1-5 business days. Campaign approval can take one to two weeks. Once both the brand and campaign have been approved the account is ready for next steps:
- Assign a phone number to your campaign from Phone Numbers in the left navigation.
- Launch your first SMS campaign from SMS Campaign.
- Contact [email protected] if you need help.
Related articles
Updated 2 months ago