

SMS and Email Workflows
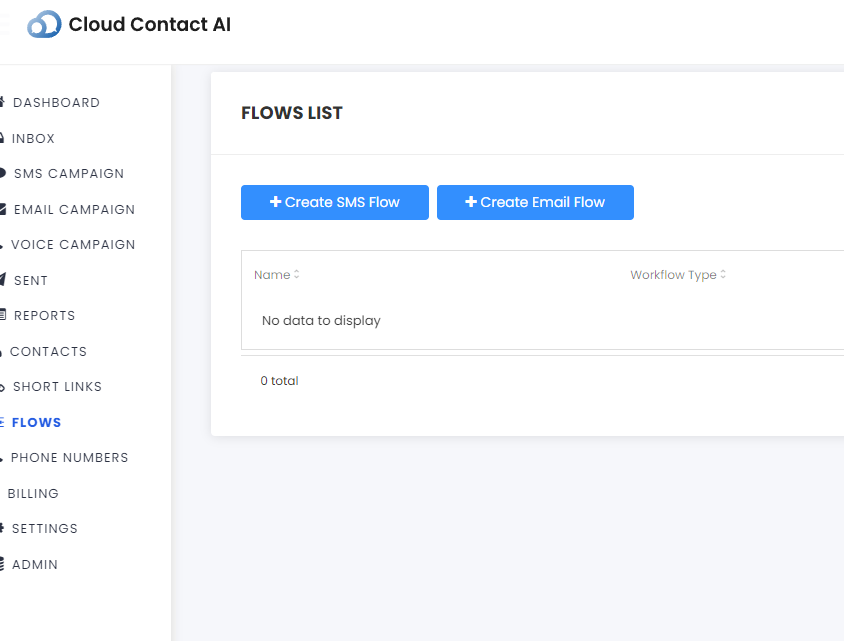
Flows are automated campaigns that trigger multiple messages to contacts based on time and contact feedback. All users have access to the flows feature whether they are a paid user, or are still using the free trial. Flows can be found on the sidebar menu.
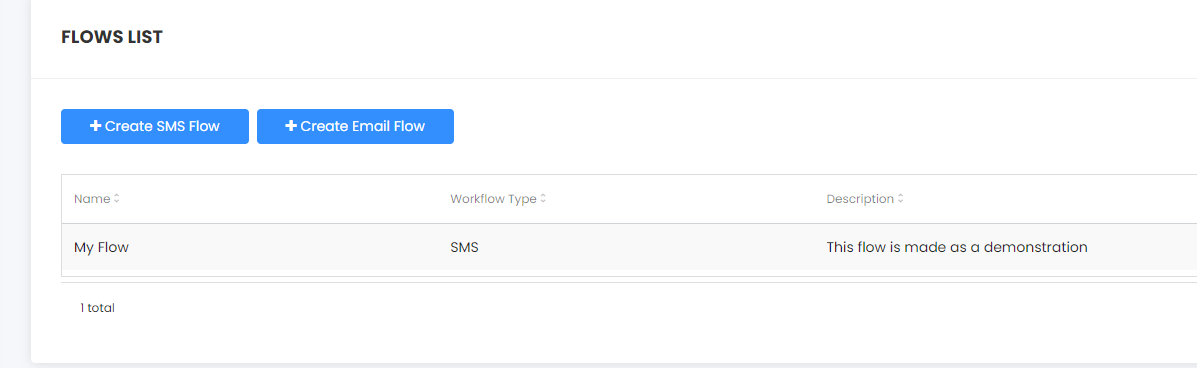
There are options to build either an SMS flow or an email flow. Both UIs are visually similar and work the same for their respective medium types.
When opening a new flow, the user will be provided the option to build a flow from a blank slate or to use a pre-built template.

The flow builder will provide an open board to build the flow vertically and horizontally, or build additional logic flows parallel. The user can click and drag around the screen to view other parts of their flow as much as they need.
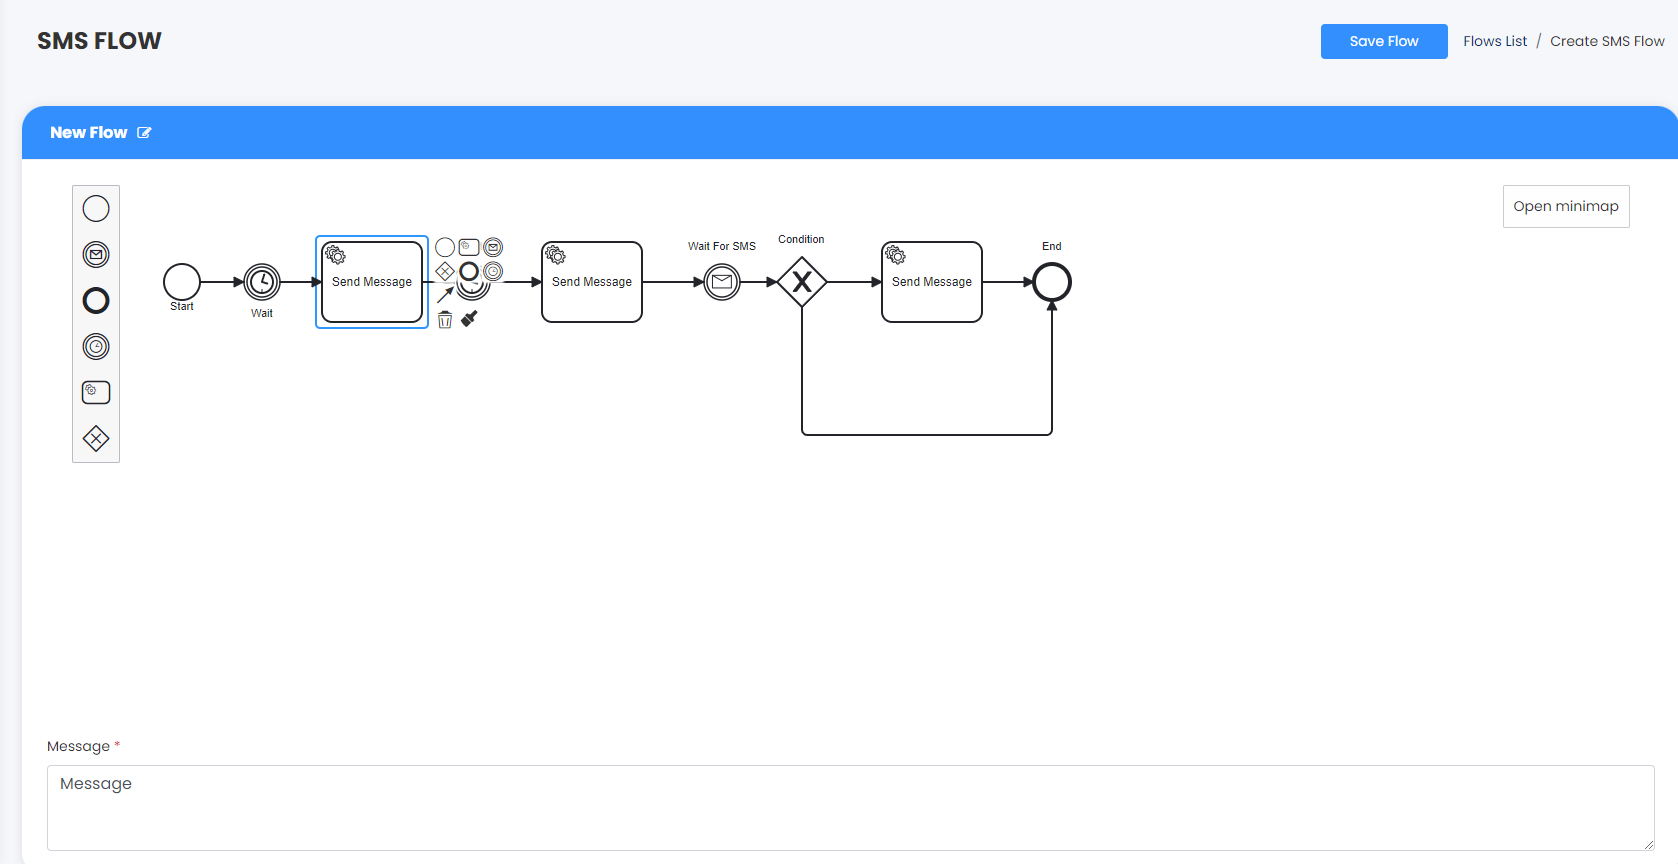
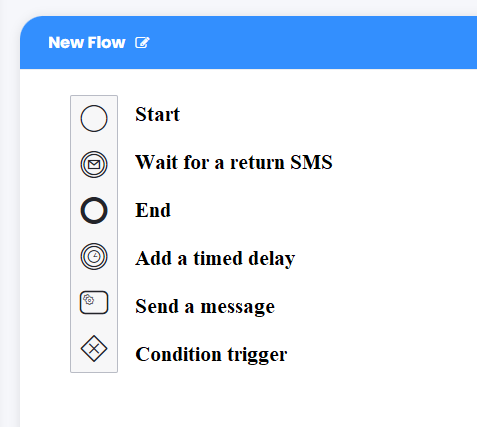
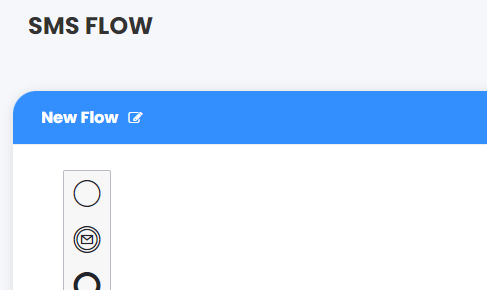
The menu on the side of the window provides new nodes for the user to click and drag onto the field as they need.
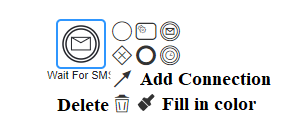
Whenever the user clicks on a node, it will provide a smaller menu with all the same node options, but with additional options with the node specifically. Clicking and dragging the arrow will add a new connection to any neighboring nodes. The paintbrush will change the color for visual aids. The trash can will completely remove the node from the screen.
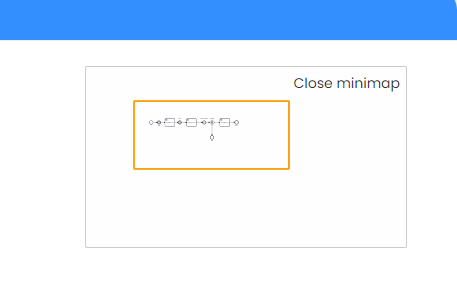
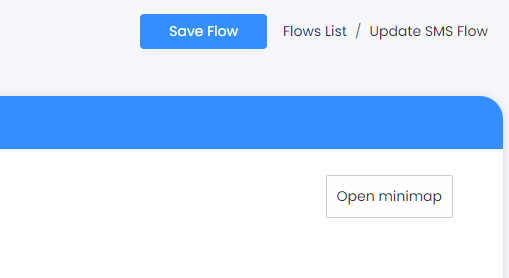
At the top right of the window is a minimap that can toggle with a click. Either by clicking and dragging on the minimap or the window itself, the user can move the map around to center the screen on other parts of the flow.
Node Types
Start
The start node is self-explanatory. It is required for the logic to initiate and deliver the flow.
Wait for SMS
The Wait for SMS node will pause the flow until there is a response from the contact.
End
The end node is also self-explanatory and is also required for the flow to stop.
Add Delay

The Add Delay node will pause the flow on a timer. The user can adjust how long the delay lasts from seconds up to years.
Condition Trigger
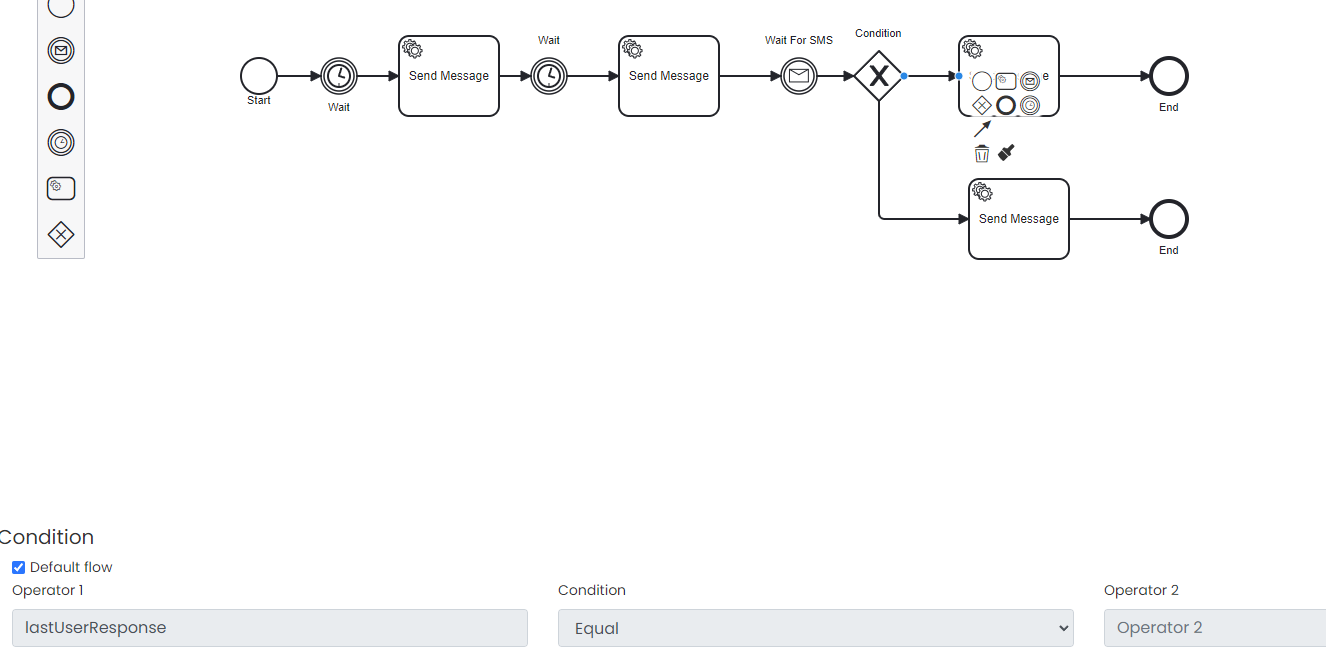
The condition trigger is an automated response with logic that ties into the contact's last response or lack thereof. The 'default flow' tick will disable the condition settings and establish that route as the action to take if the user does not respond.
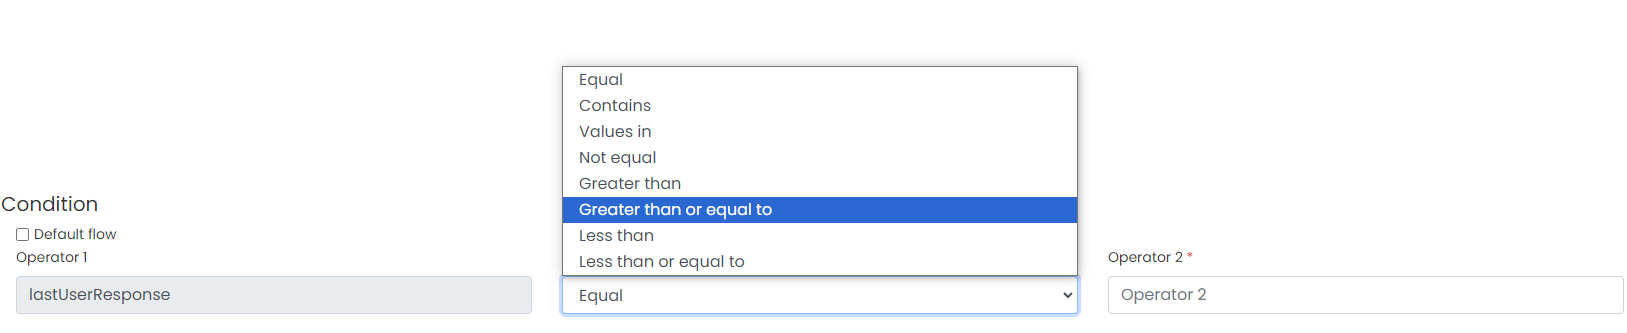
Toggling off the condition will allow the user to set the condition and the subsequent value. This value can either be alphabetical or numerical.
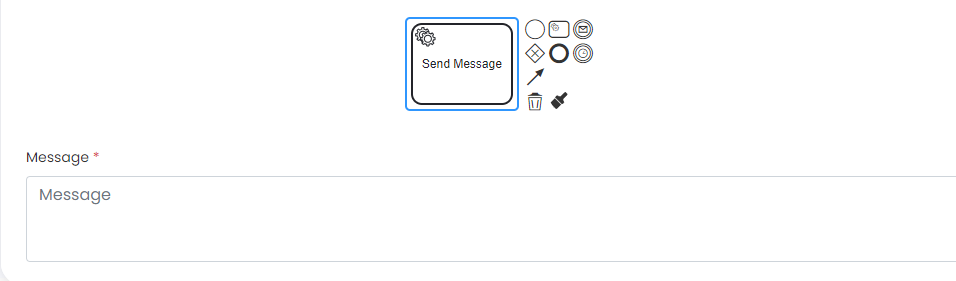
Send Message
The send message node is what the flow will send out after the flow has reached that phase. Clicking on the node will provide a box at the bottom to provide a message to send.
Flow Completion and Use
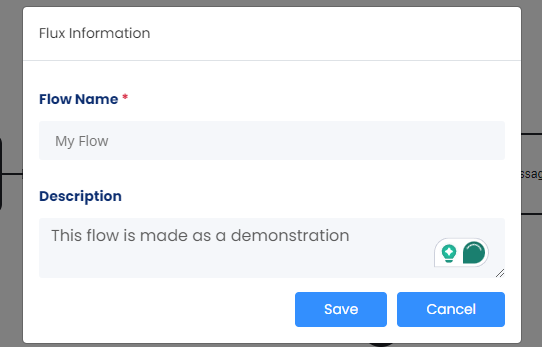
At the top of the flow window is a blue hotbar. On the left is the option to change the flow's name and description for categorization purposes.
After saving, the user will be directed back to the flow menu. Here, they can see their newly added flow.
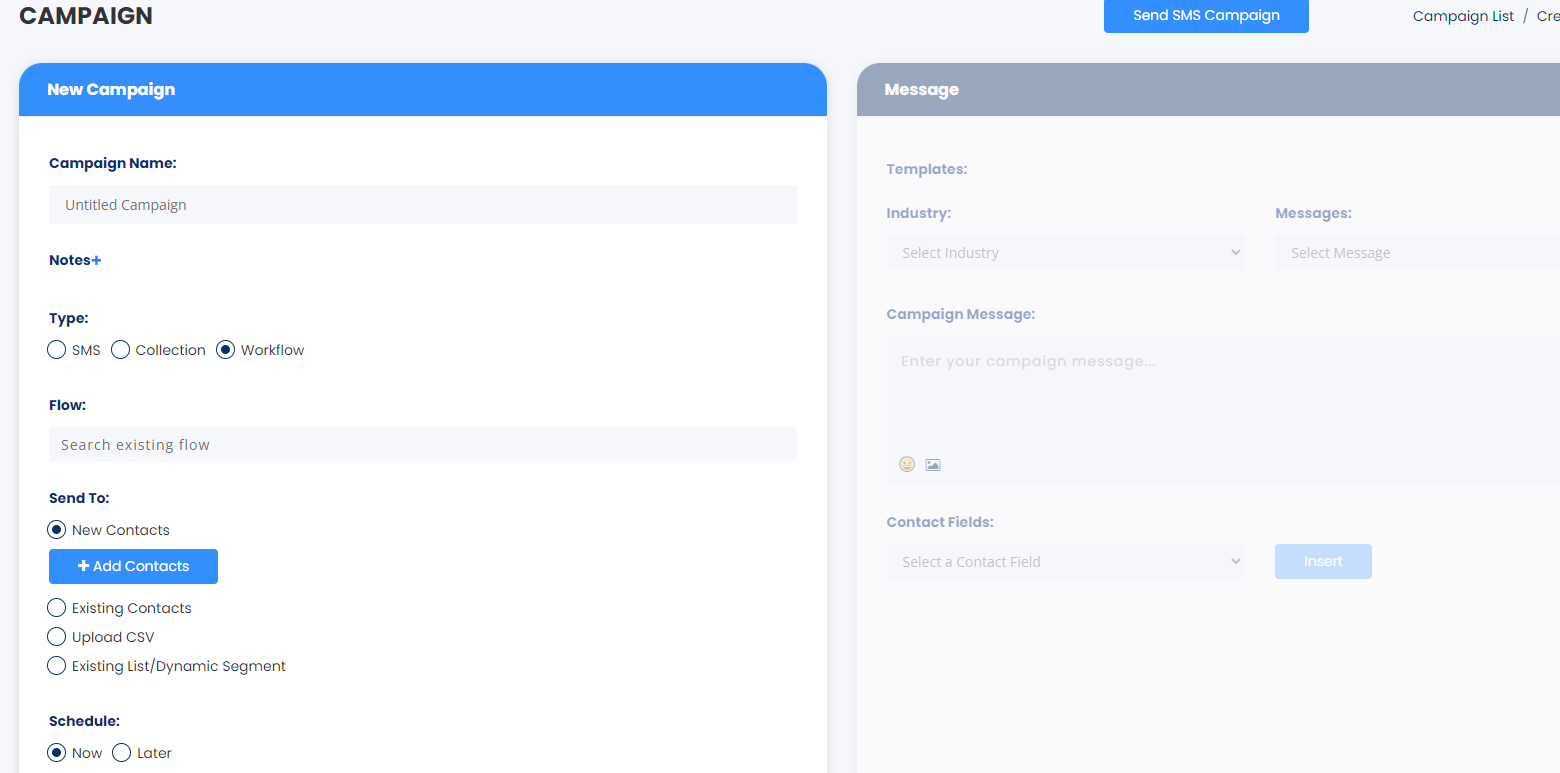
Using a flow is a matter of opening the campaign builder of the respective flow type and setting the campaign to 'workflow.' The message builder will be grayed out because the messages are set to a predetermined path.
Updated about 1 year ago