

How to Edit an Existing Client in CloudContactAI
This guide is designed to help walk you through the steps to edit an existing client in CloudContactAI's user interface.
Edit Client
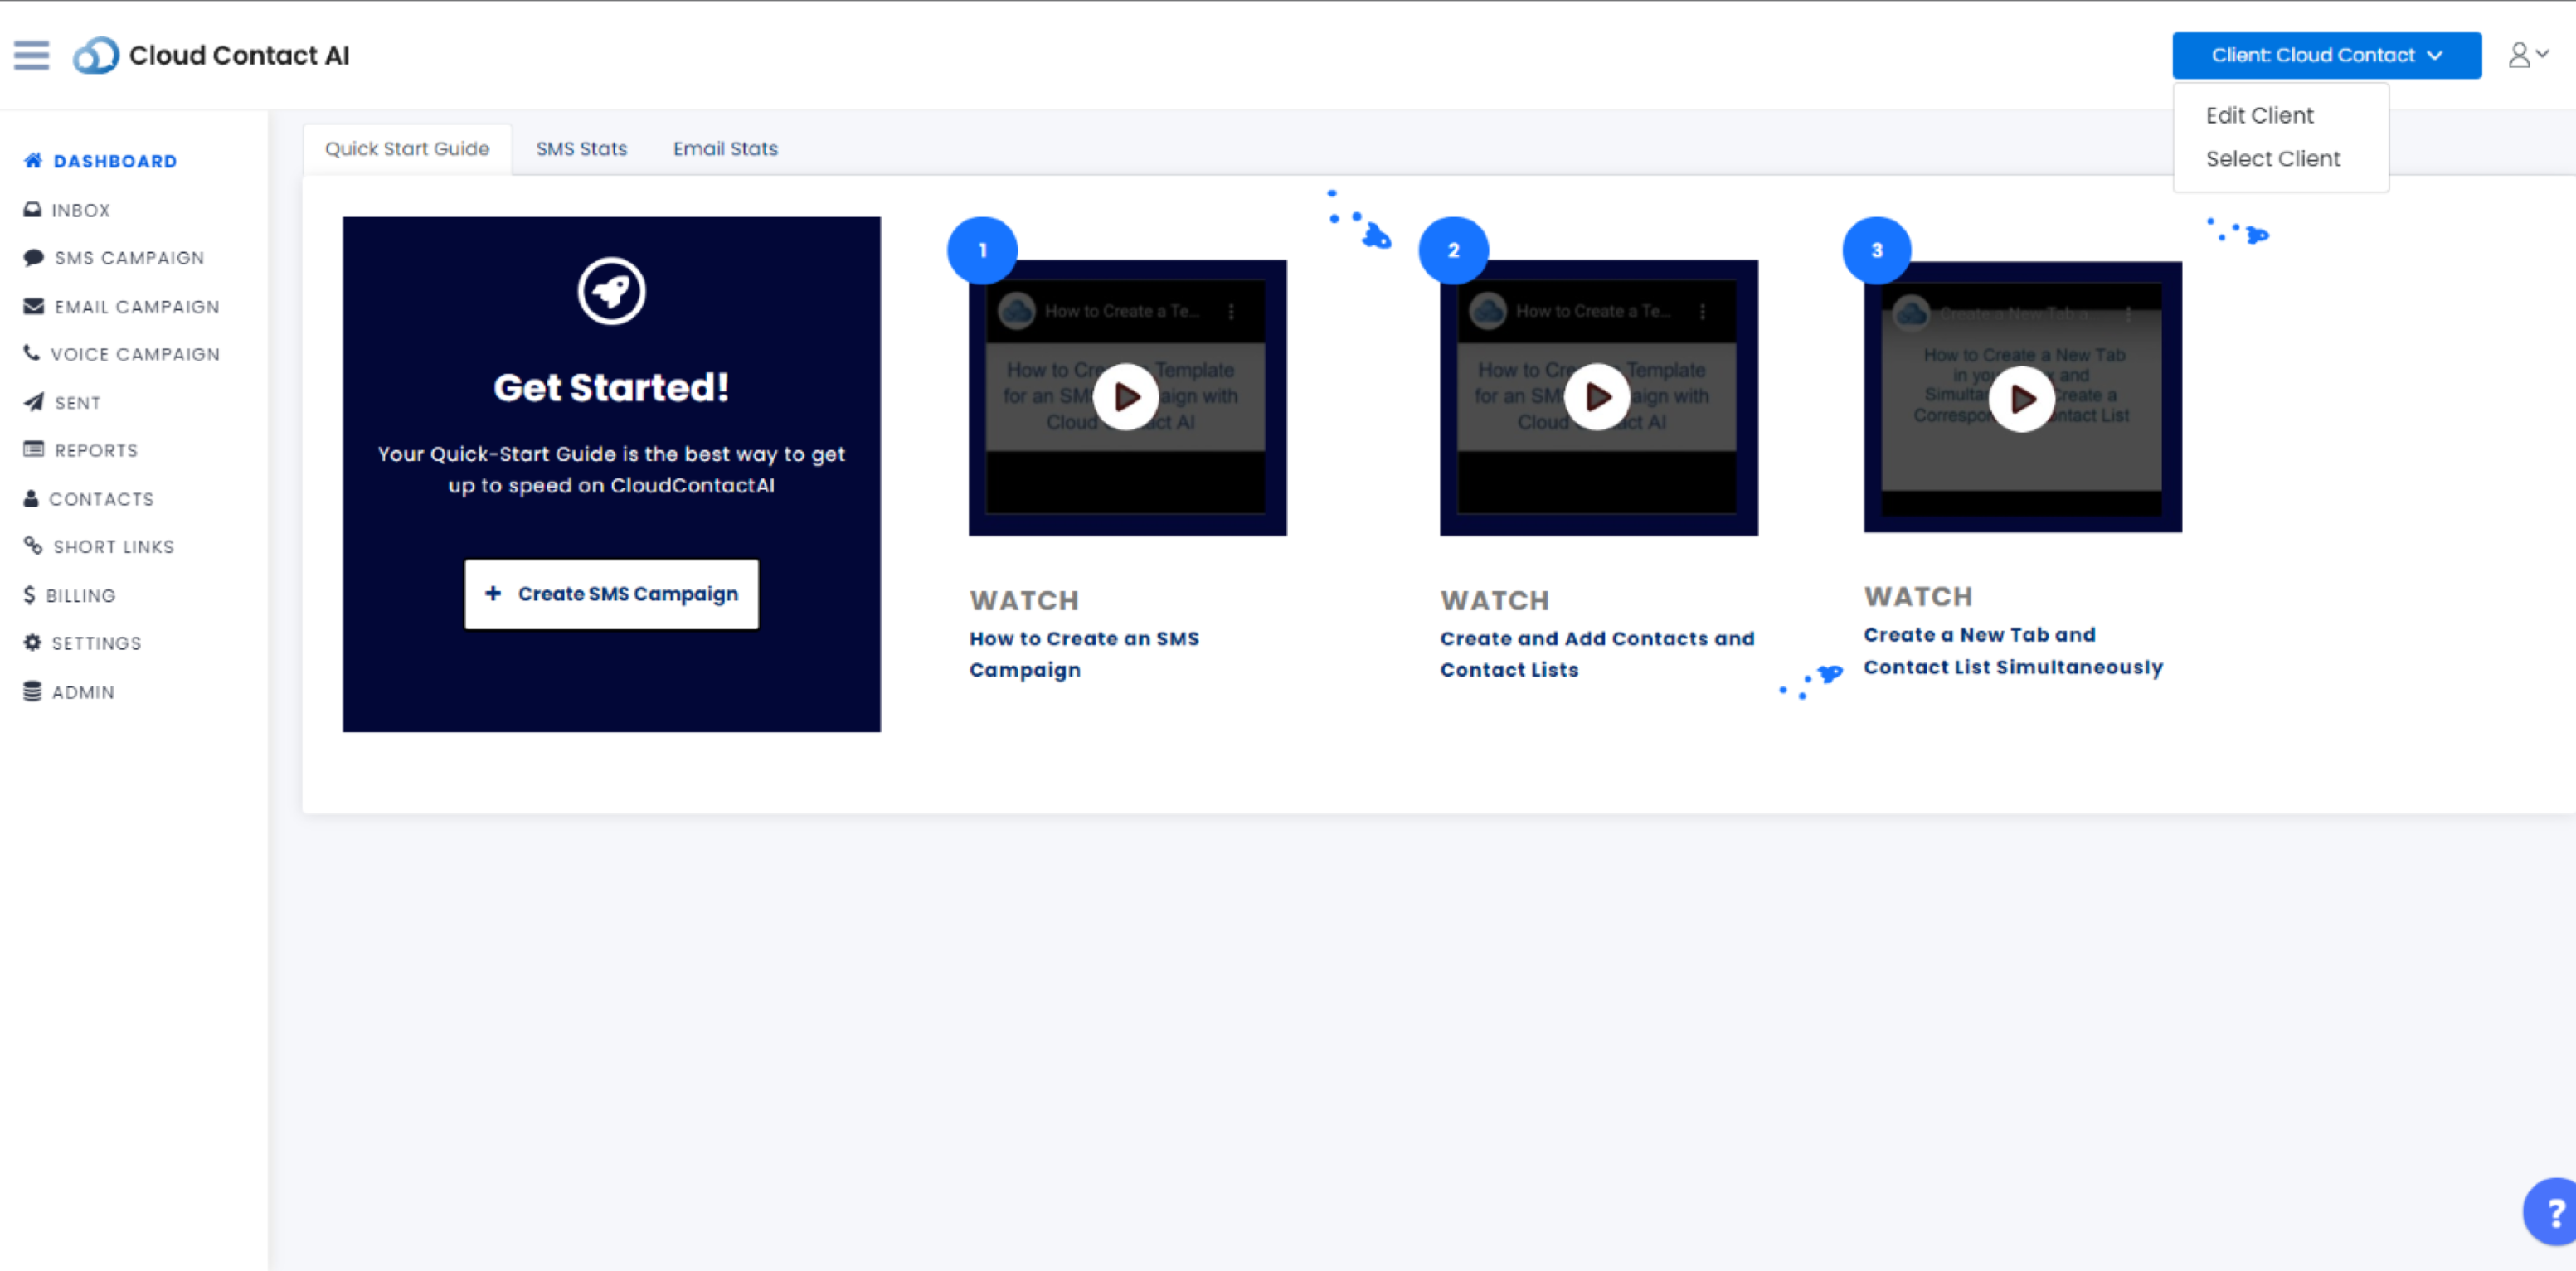
From the CloudContactAI Dashboard, click the blue "Client: (Client Name)" button and select "Edit Client" from the drop down menu.
From the "Edit Client" button, you will be brought to the settings section of your dashboard.
You will have several tab's, as shown below, from which you can choose to edit.
In order to edit the Client details, select the first tab from the left named "Client".
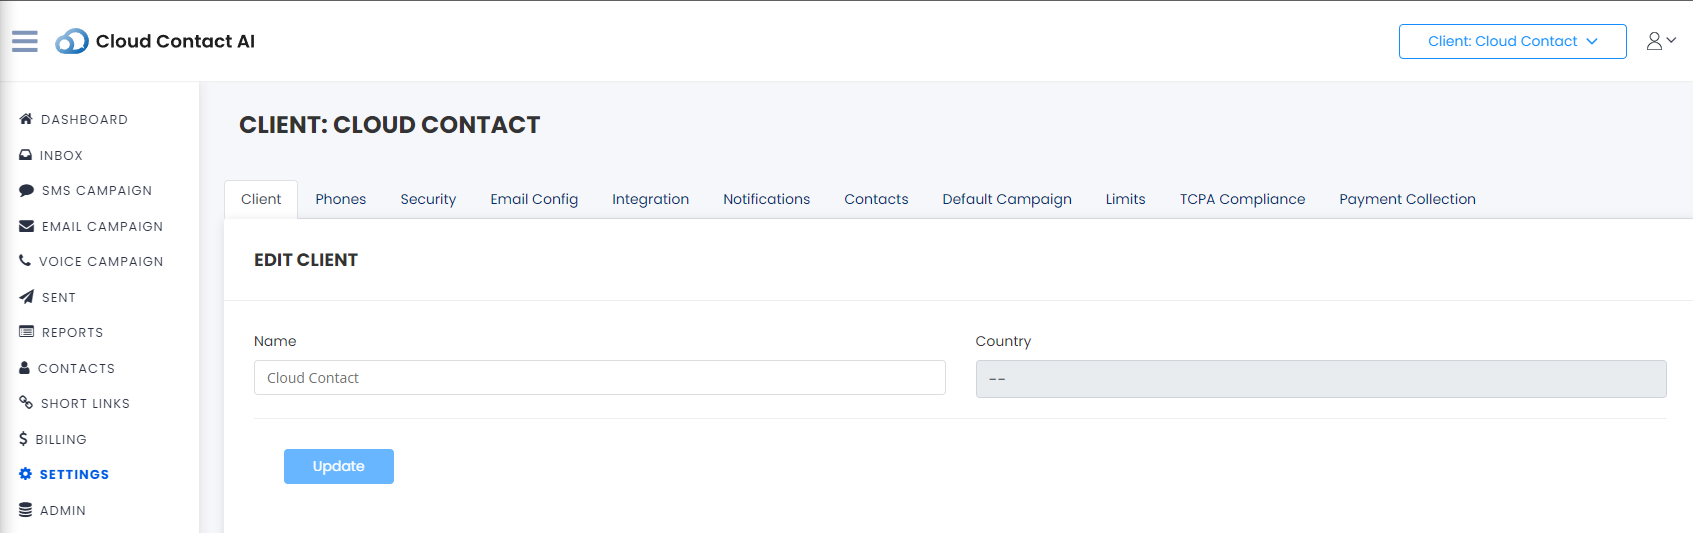
From the "Client" tab, you can edit/update the name and country of the current client as shown below.
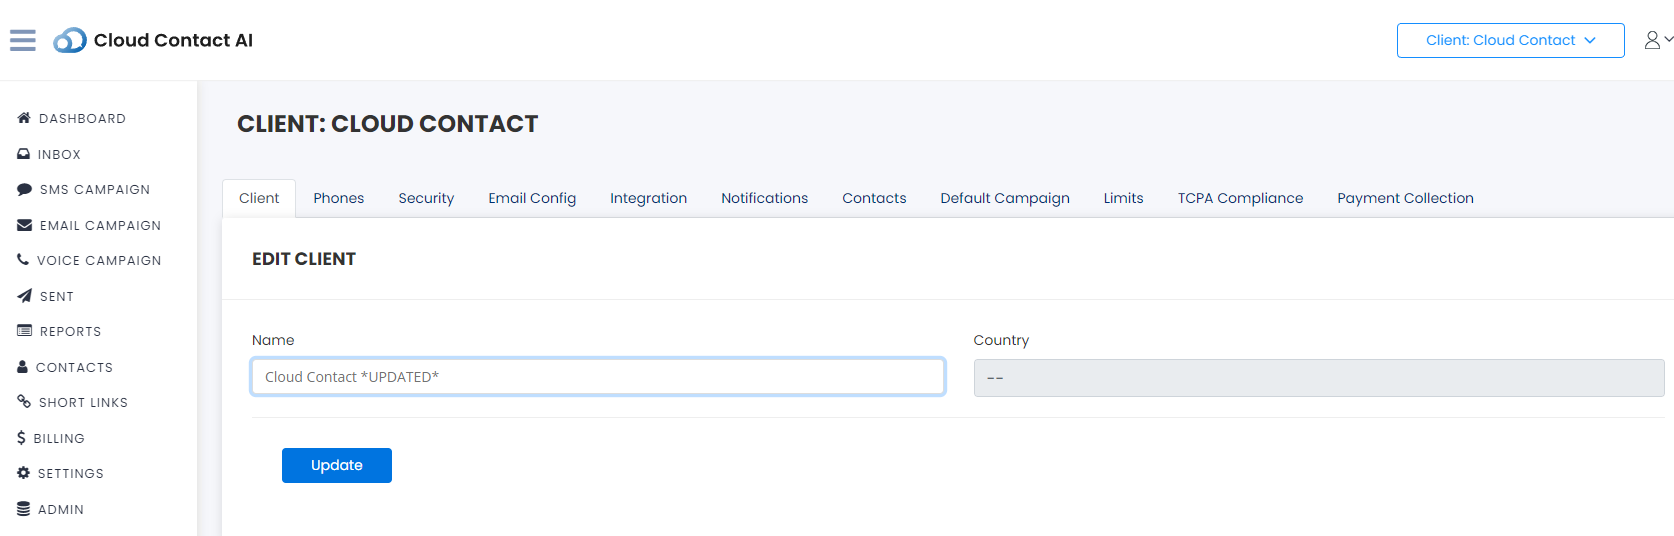
For this example, the new client name is now "Cloud Contact UPDATED". Once you have finished editing your client name and country, select the blue "Update" button.
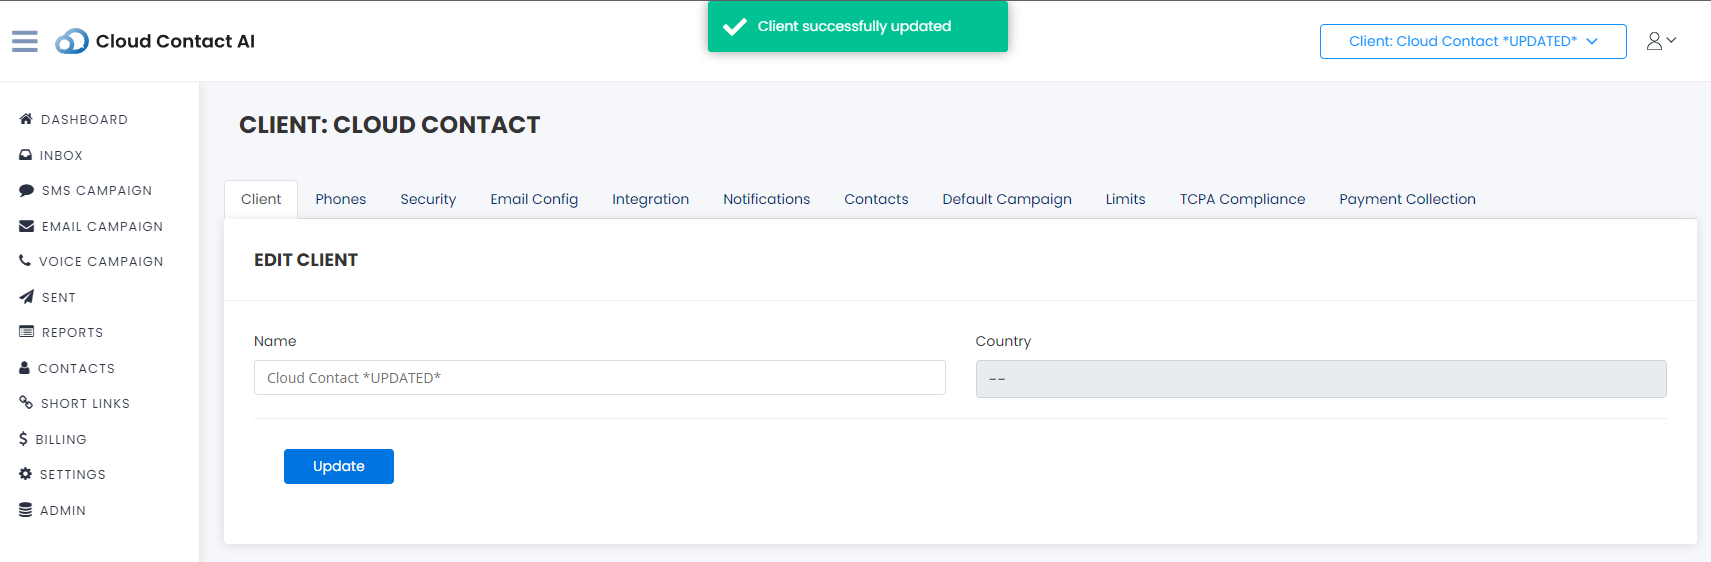
Once you have correctly updated your client name and or country, you will see a green box with a white checkmark and a "Client successfully updated" message.
You also will see the updated client name now displayed in the upper right hand corner of the page.
See the image below for details.
Updated about 1 year ago