

Quickstart with API
Visual Guide
Account
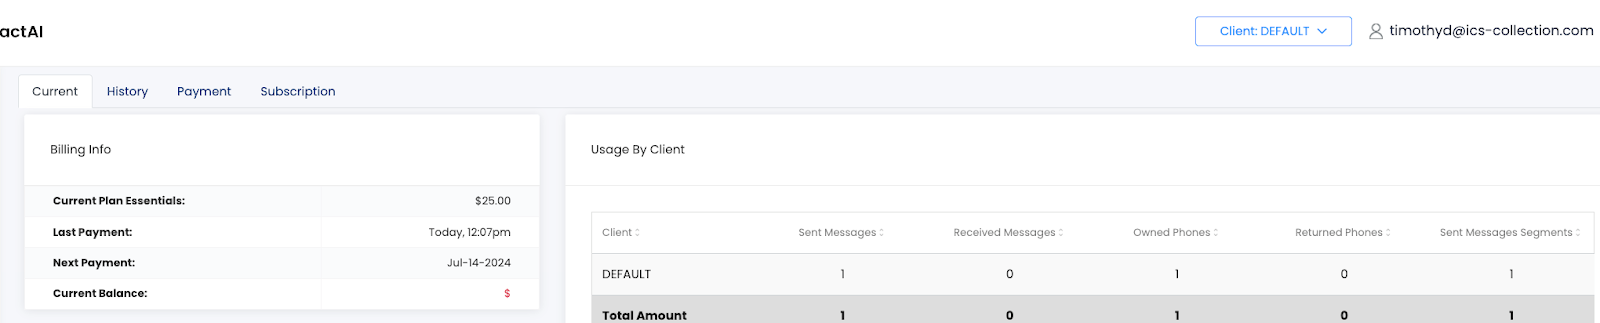
Let's briefly go over using the API. We will use an account with an Essentials Plan configuration for this demonstration.
Phone Number
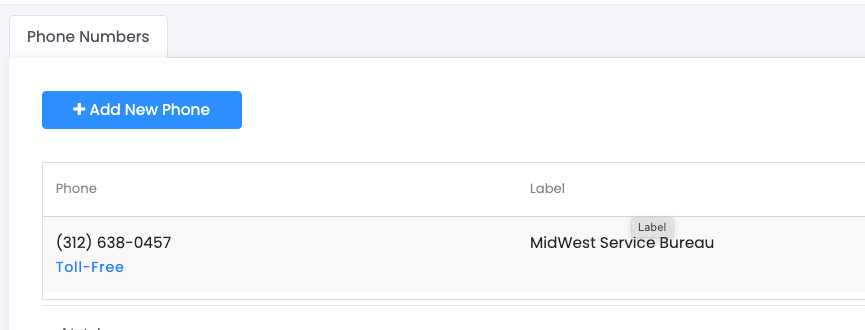
Because this user has purchased a subscription, they have a phone number registered. The A2P Brand and Campaign have been approved for (312) 638-0457.
Testing
Tests are supported through the following API endpoint.
For testing, you will need to get the ClientID and the API Key from your Settings tab as shown below.
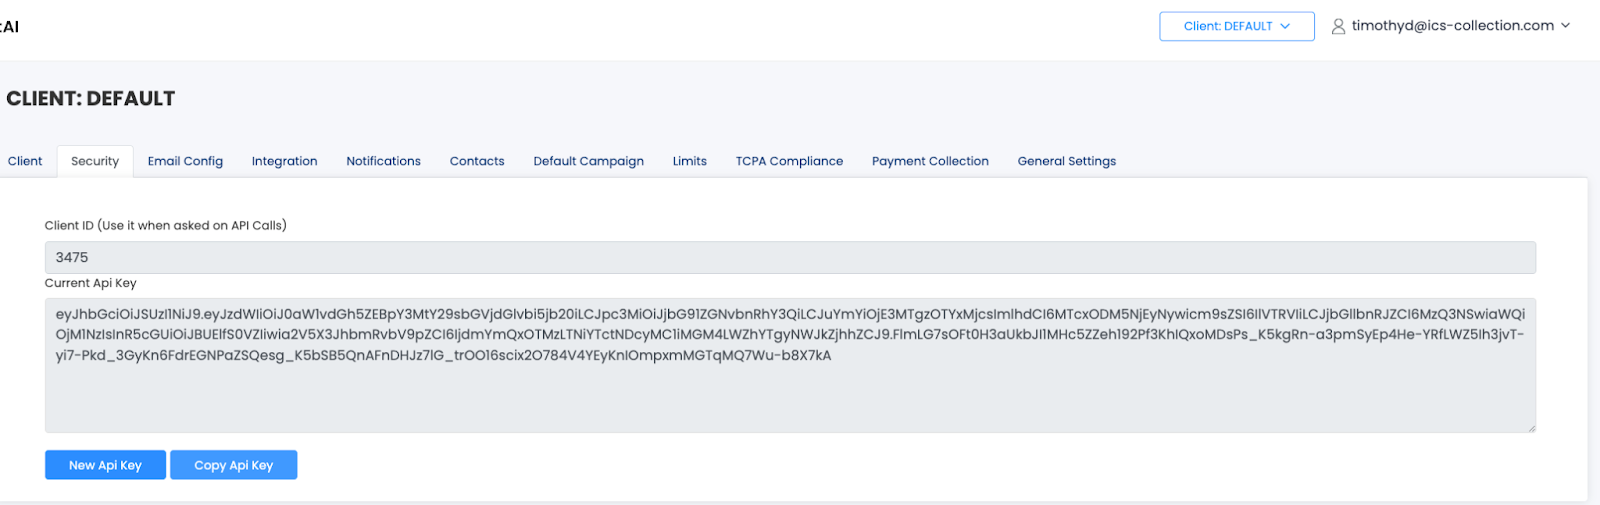
The Client ID and API Key will be used in the REST API Request. On the developer.cloudcontactai.com site, add the API Key to the Authorization prefixed with Bearer.
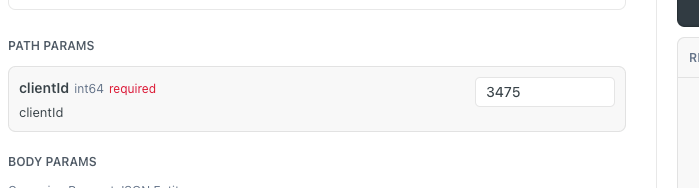
You are required to specify the Client ID.
In the Body Params category, click Add Object. You will need to specify the first name, last name, and phone number categories, or else the message will throw an error.
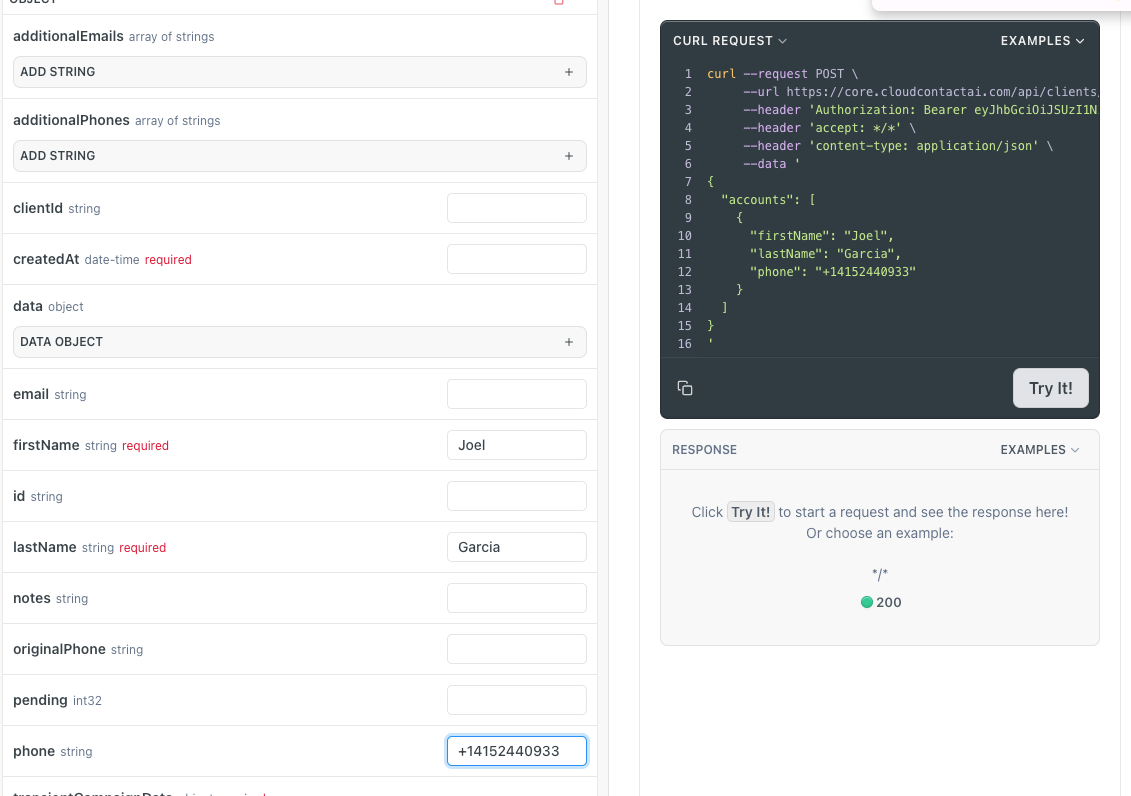
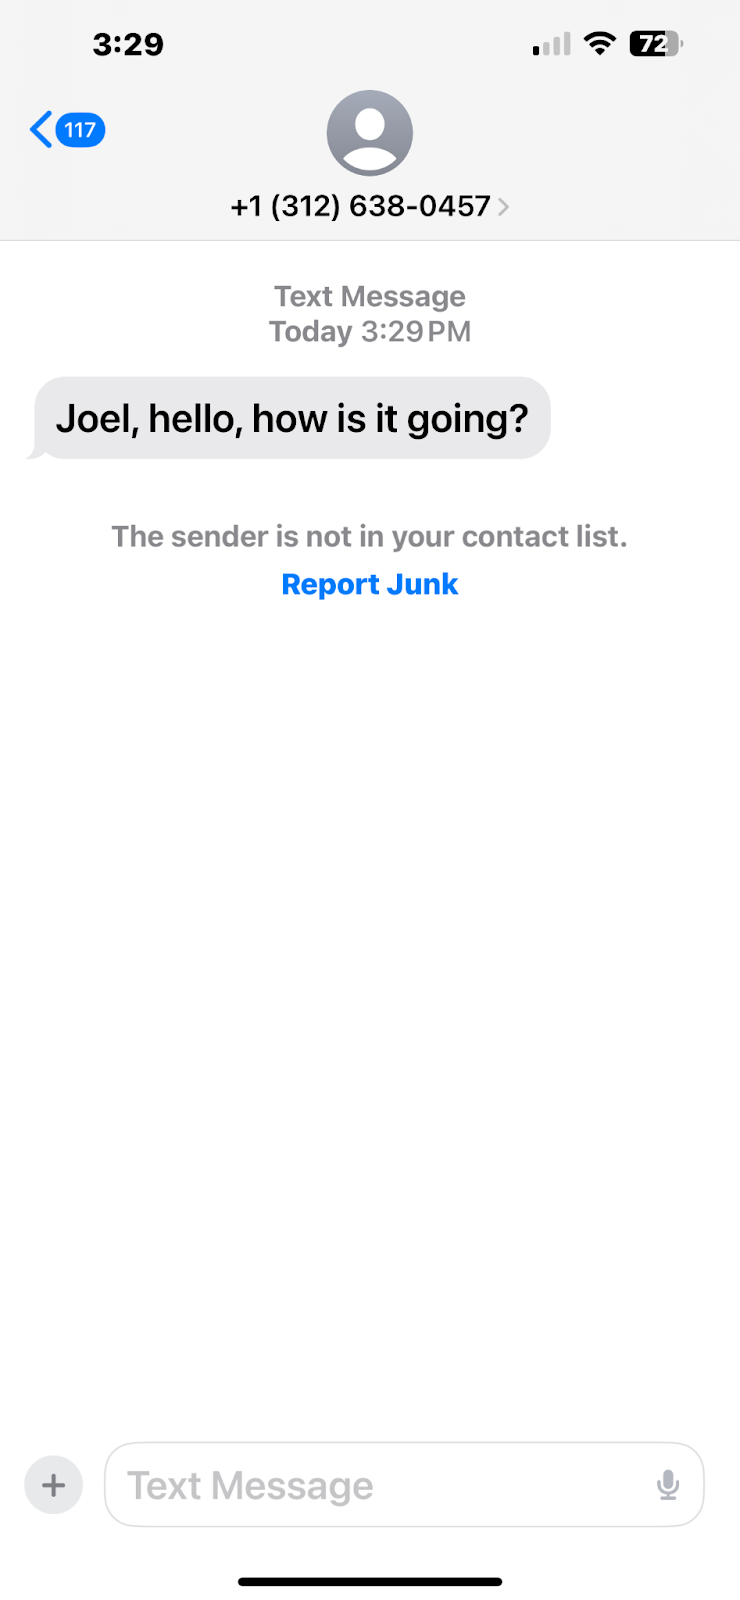
Outside of the account parameters, you will need a campaign name and message. For example, we're giving the campaign the title of "First Campaign" and the message will read, “${firstName}, hello how’s it going?”
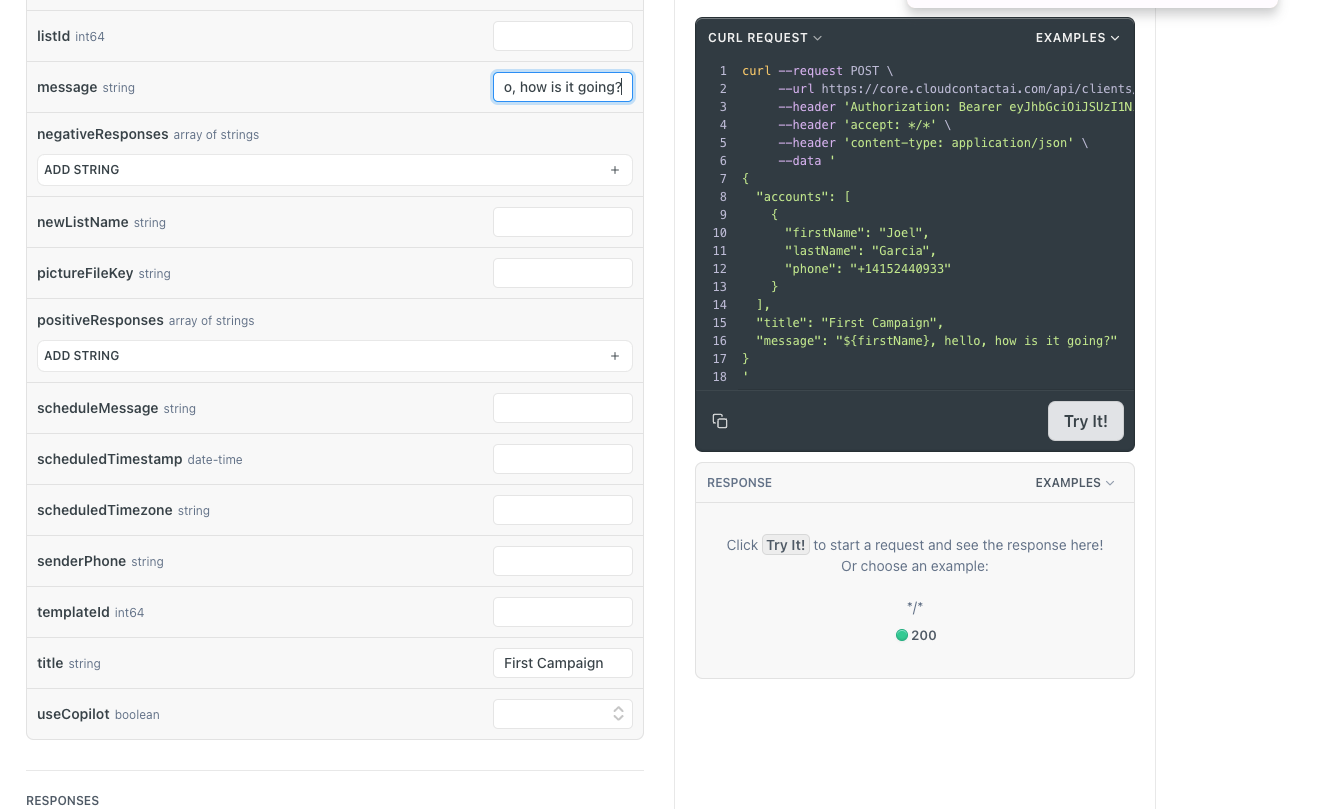
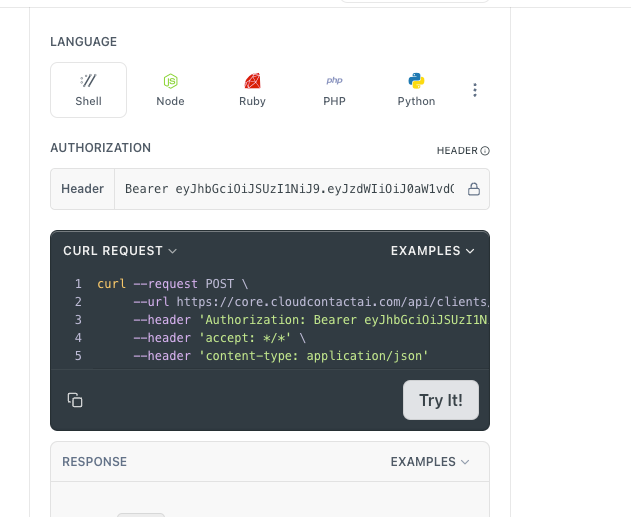
The campaign has all the prerequisites and is ready to be sent. Click on the "Try it!" button at the bottom of the Curl Request window. The message will go out and the following will appear in the Response window.
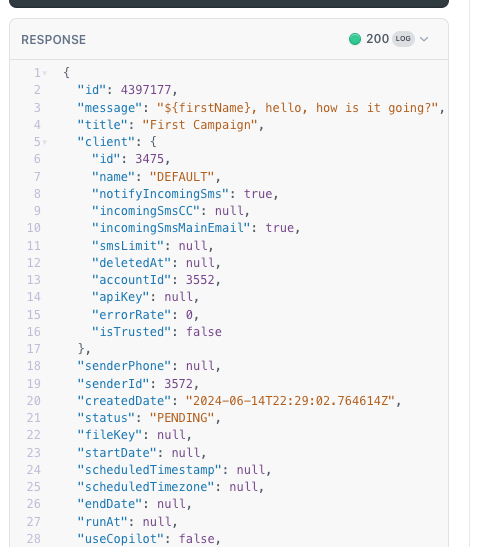
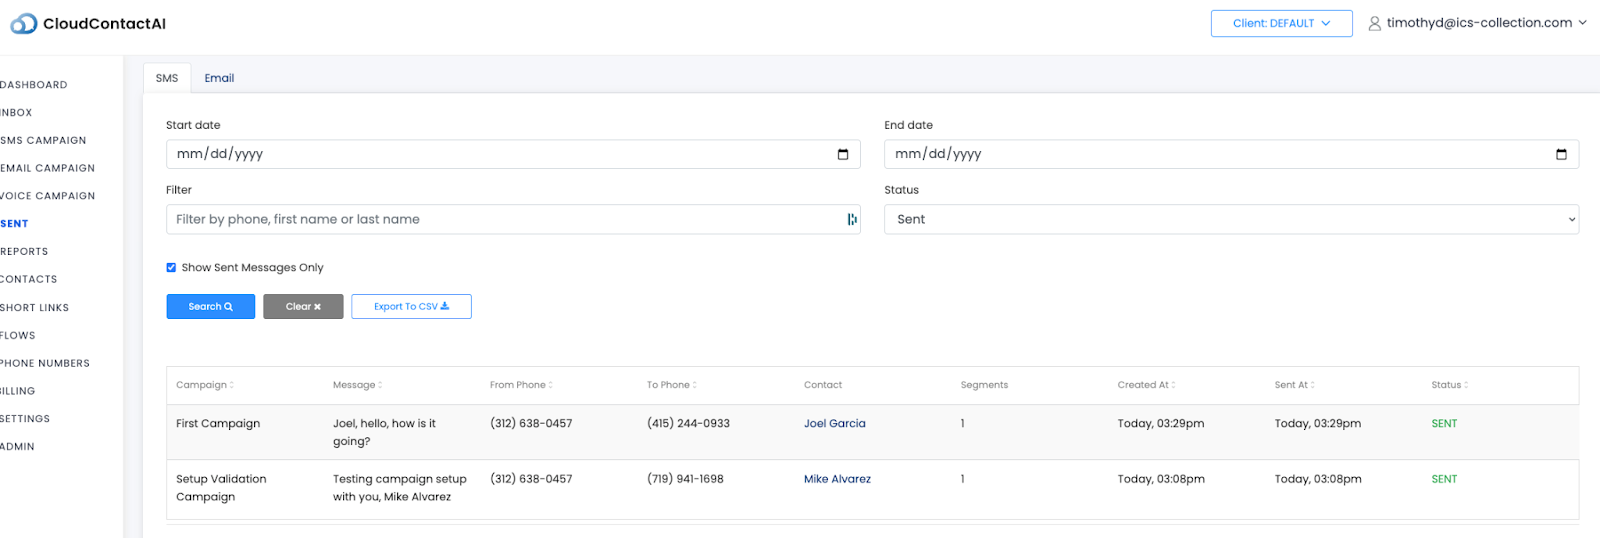
The message should appear both to the phone number the message was written for and under the "Sent" tab on the CCAI dashboard.
Curl Request
If anything is confusing about the Curl Request window, here is an excerpt for reference.
curl --request POST \
     --url https://core.cloudcontactai.com/api/clients/YOUR-CLIENT-ID/campaigns/direct \
     --header 'Authorization: Bearer API-KEY-TOKEN' \
     --header 'accept: */*' \
     --header 'content-type: application/json' \
     --data '
{
  "accounts": [
    {
      "firstName": "Mike",
      "lastName": "Alvarez",
      "phone": "+17199411698"
    }
  ],
  "message": "Testing campaign setup with you, ${firstName} ${lastName}",
  "title": "Setup Validation Campaign"
}
Updated about 1 year ago