

How to Provision a New Client
Creating a client within CloudContactAI is easy. You will be prompted to assign a new phone number to the client.
This guide is designed to help walk you through the steps of how to provision a new Client.
In the upper right hand corner resides the Client combobox, click on this combobox.
If you haven't created a Client before, the text will state "Client: Default".
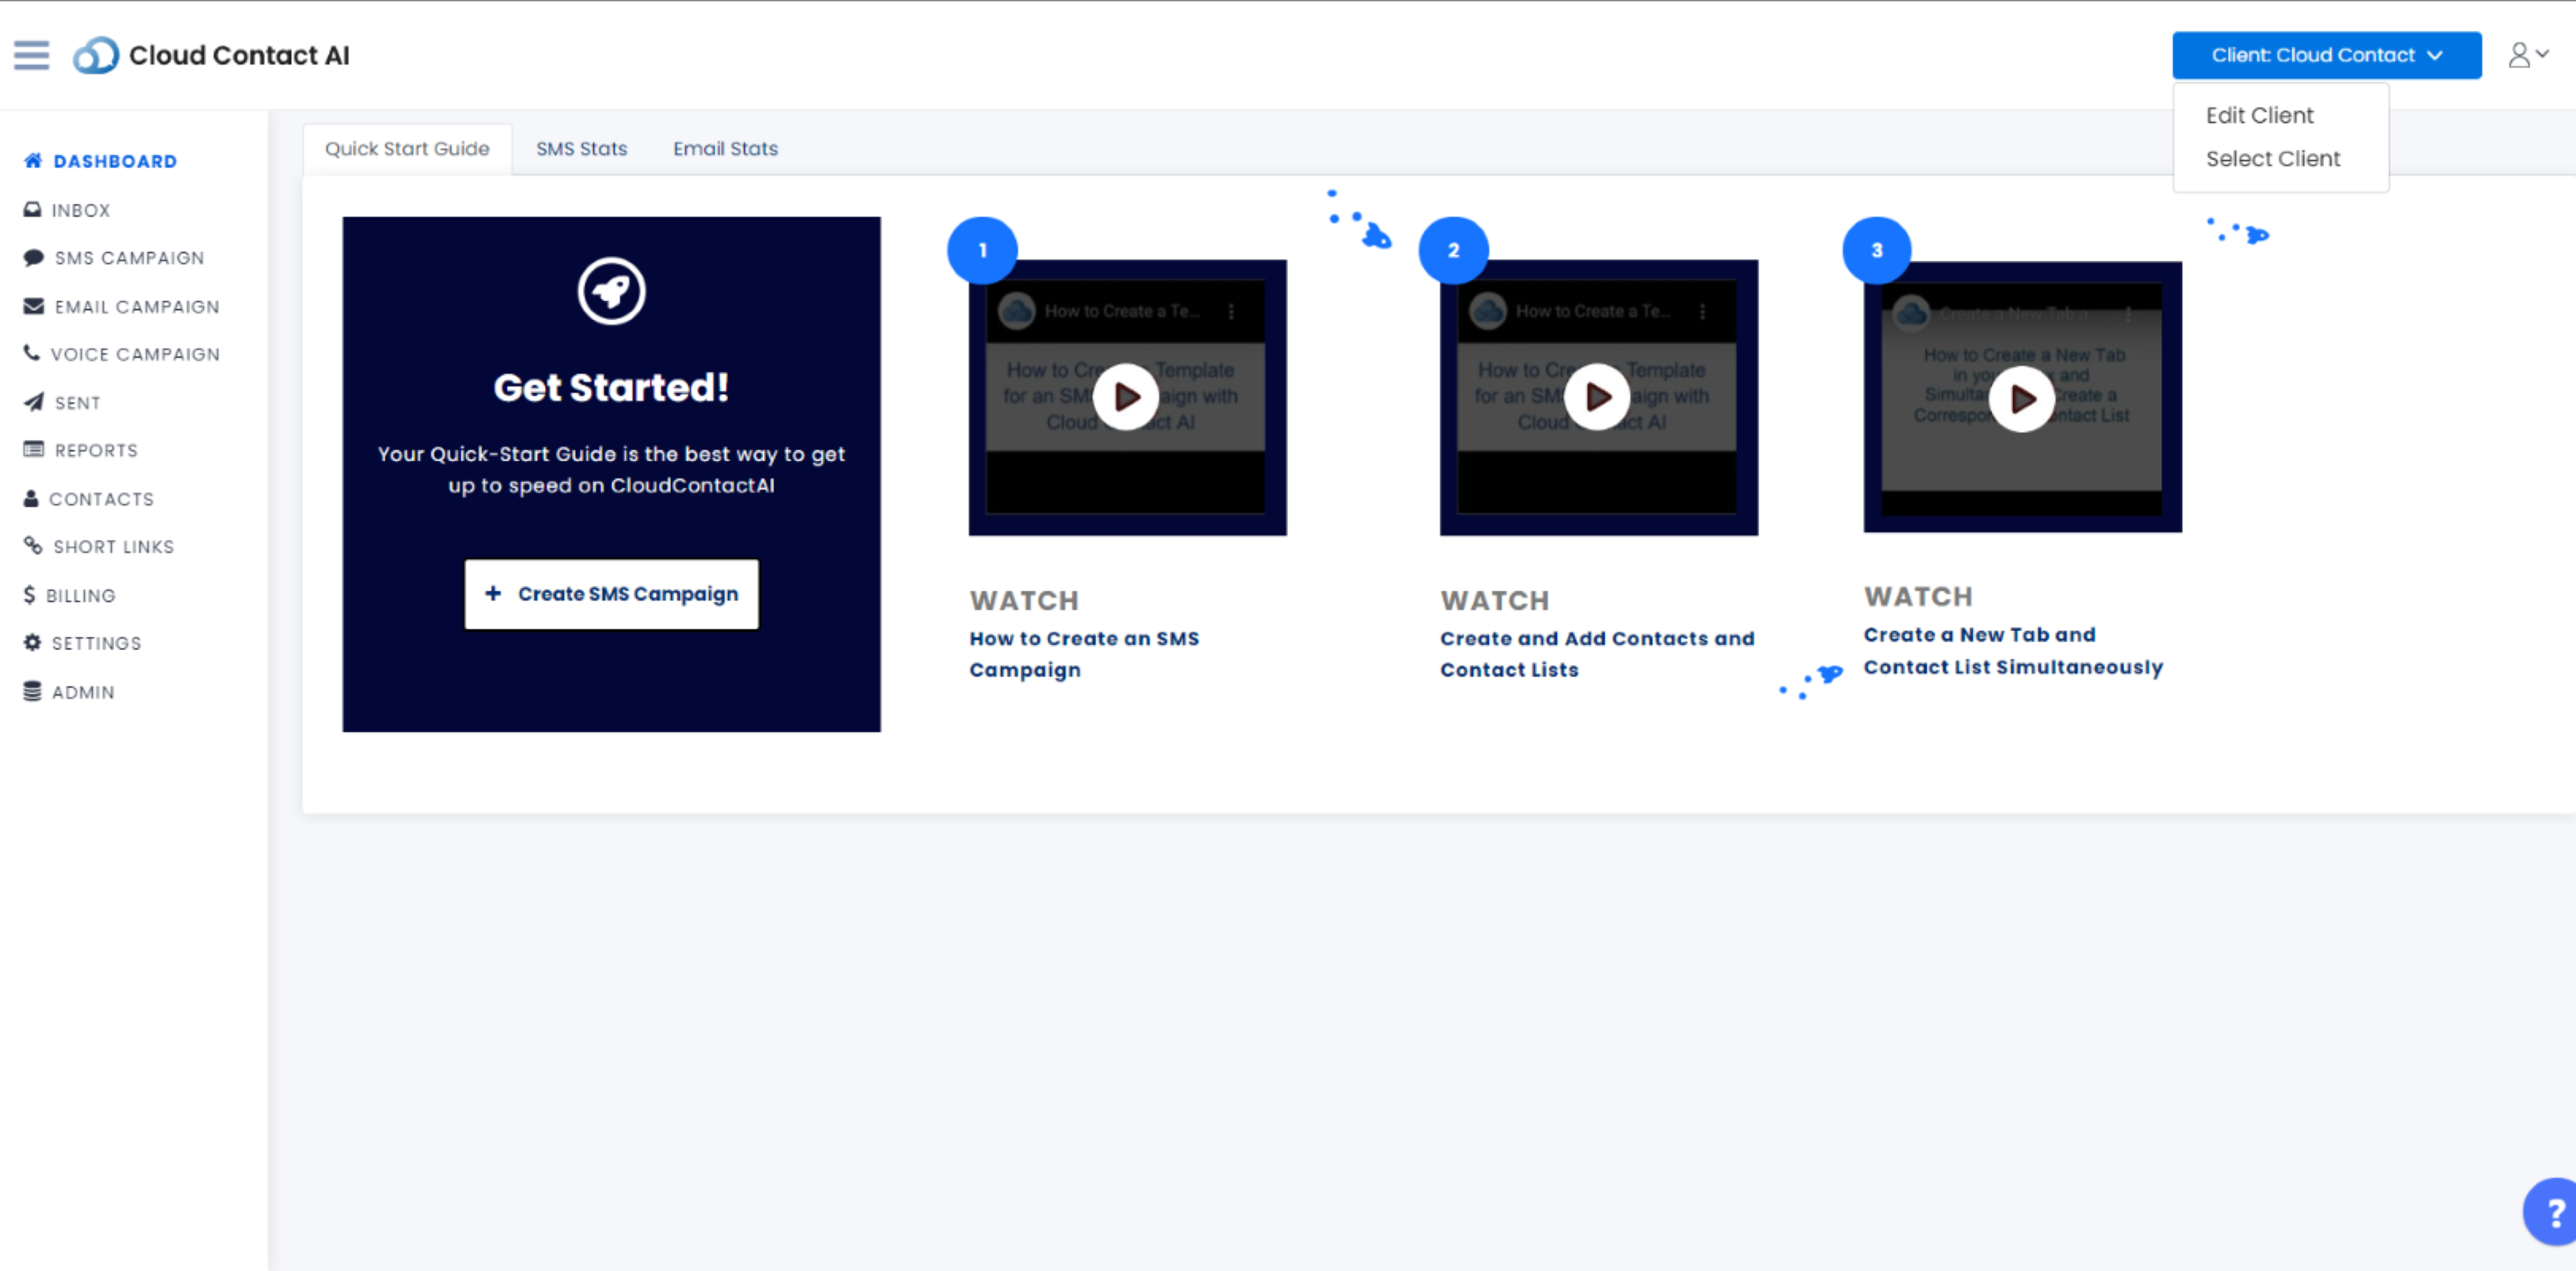
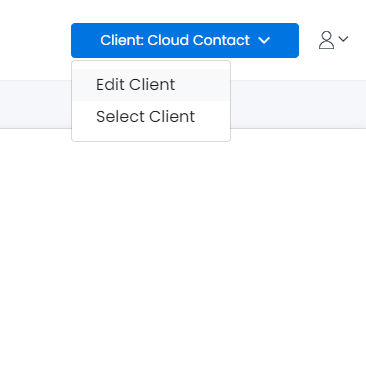
After you click on the Combobox, in the subsequent menu, select "Select Client" menu item to bring up the "Select a Client" View.
Select "Edit Client" to edit the current client.
Select "Select Client" to Add or edit another client.
In the Select A Client view, click on the blue "Add Client+" button.
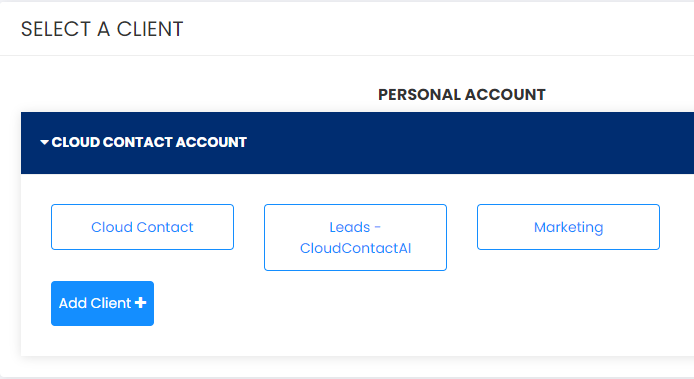
In the Select A Client view, click on the blue "Add Client+" button.
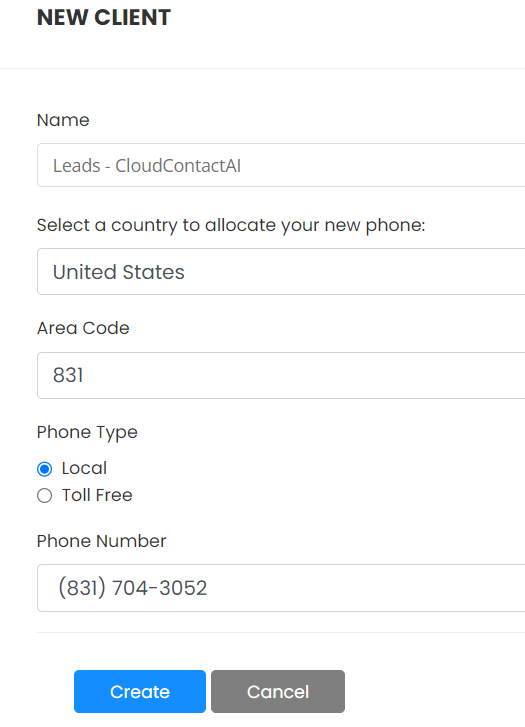
When creating a new client, you will need to enter a Name, Country, and Area Code for the new client.
To create the new client simply select the blue "Create" button.
See the image below for details.
Updated about 1 year ago