Assigning Clients to a User
Clients enable CloudContactAI users to provision different tenants for different locations that require a different phone number and different contacts.
For example, let's say that I had two facilities one in San Francisco and another in San Diego. If I'm using the client in San Francisco, then I would want the outbound phone number to use the area code (415). I would also only want to upload Contacts in the Bay Area who would visit the San Francisco facility. In San Diego, I would want to send my outbound messages from a (760) area code, and I would want this tenant to house the contacts that are in the San Diego region.

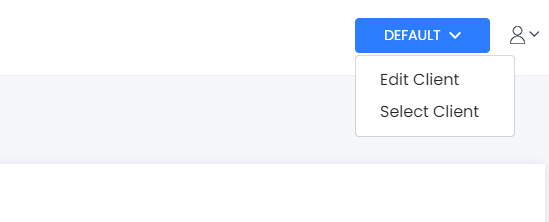
You can check what client you have selected via the dropdown next to the user icon at the top-right of the UI.

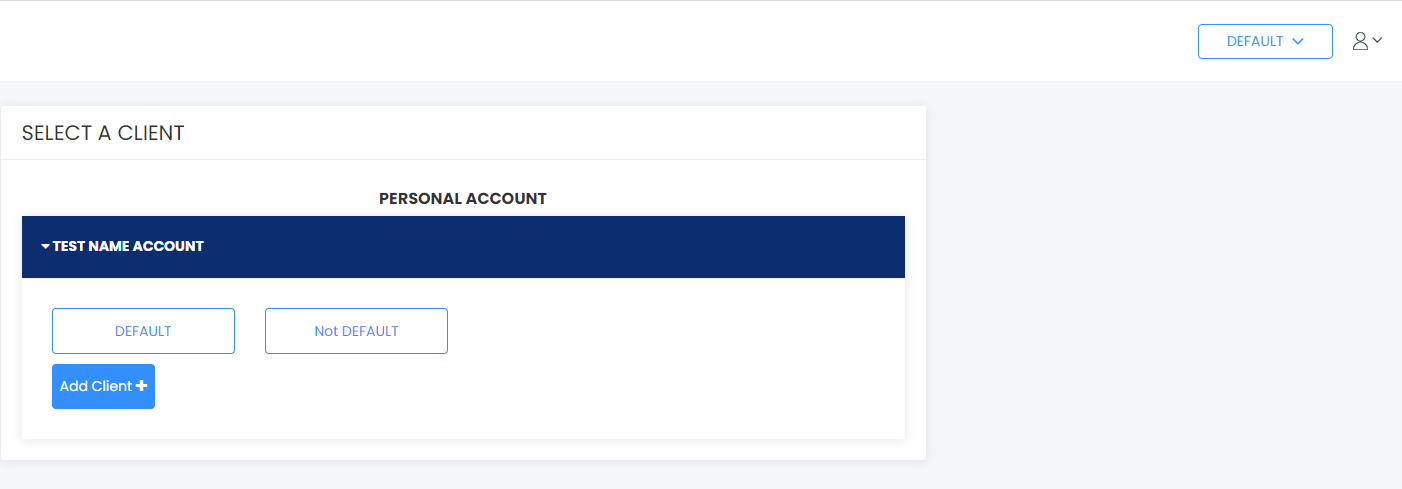
The 'Select Client' option will show what clients have been made and are available on this account. You can either select an existing client to switch to or add a new client to the roster or add a new one.

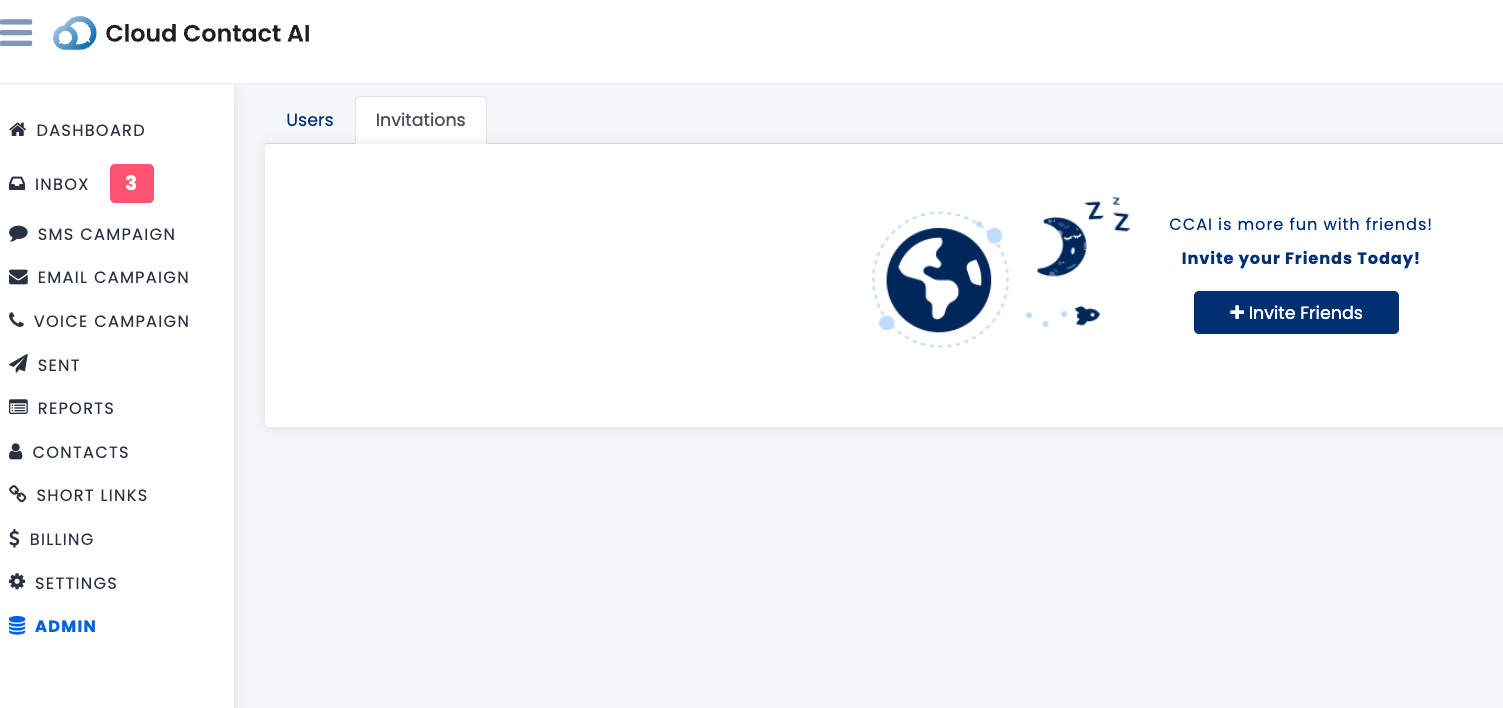
When you provision some clients, you are then able to associate different users within CloudContactAI with those clients. Navigate to the Admin page, and click on the Invitations tab. Click on the Invite Friends button

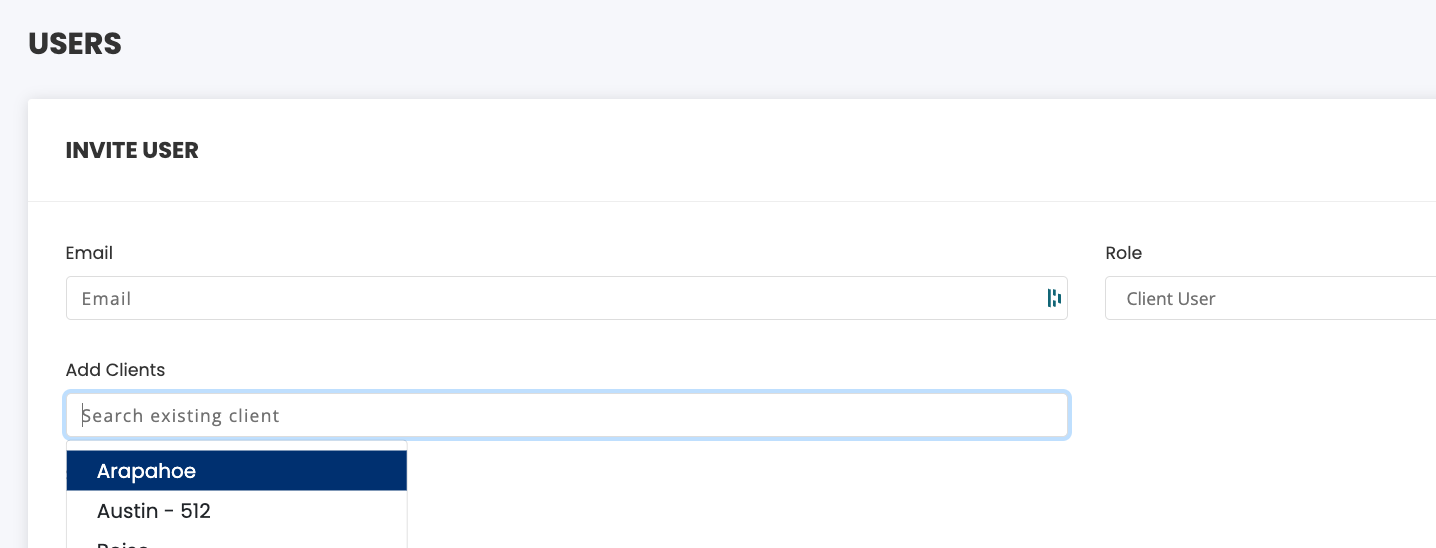
On the Invite User view, you'll be able to invite a user with an email address to have access to specific clients.

Updated 8 months ago
