
Amazon SES: How to Setup Integration with the Simple Email Service (SES)
In order to send outbound emails with CloudContactAI, CCAI must be integrated with a third-party email management system. This tutorial will walk you through the steps of configuring Amazon Simple Email Service (SES).
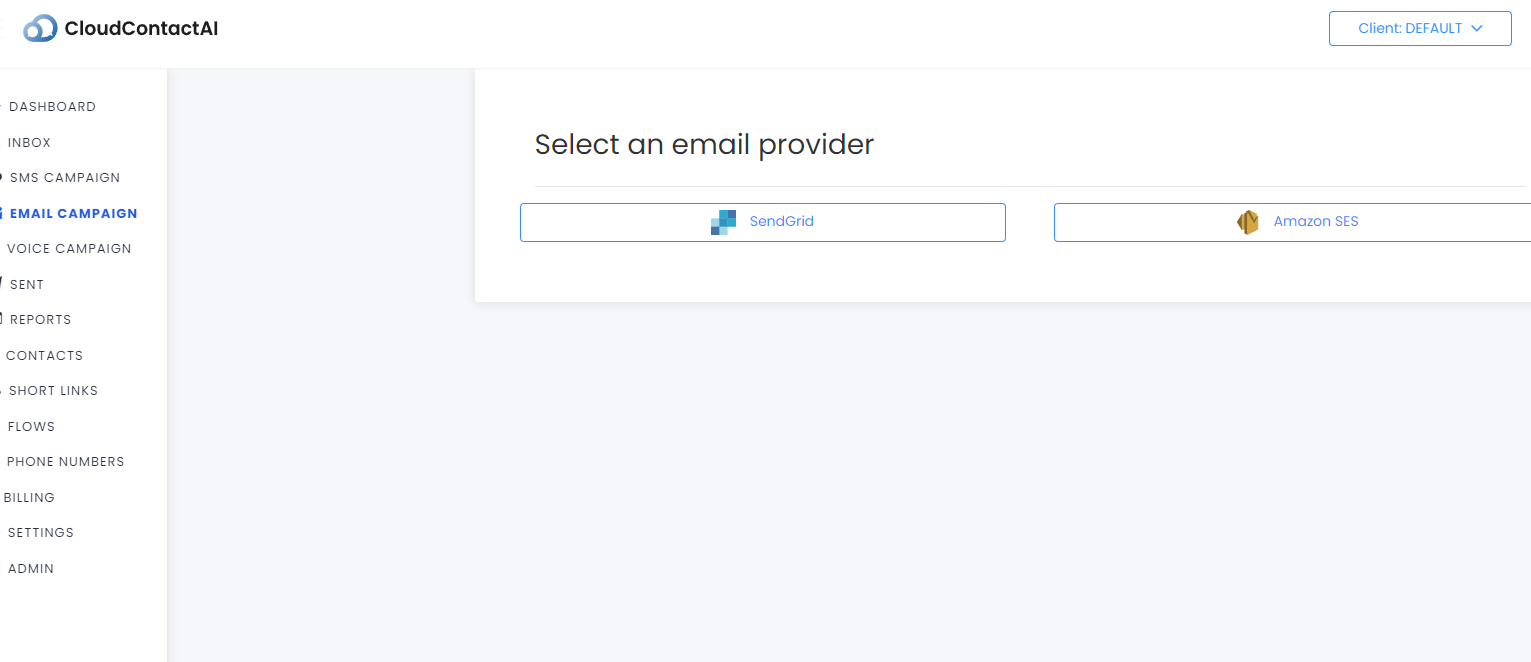
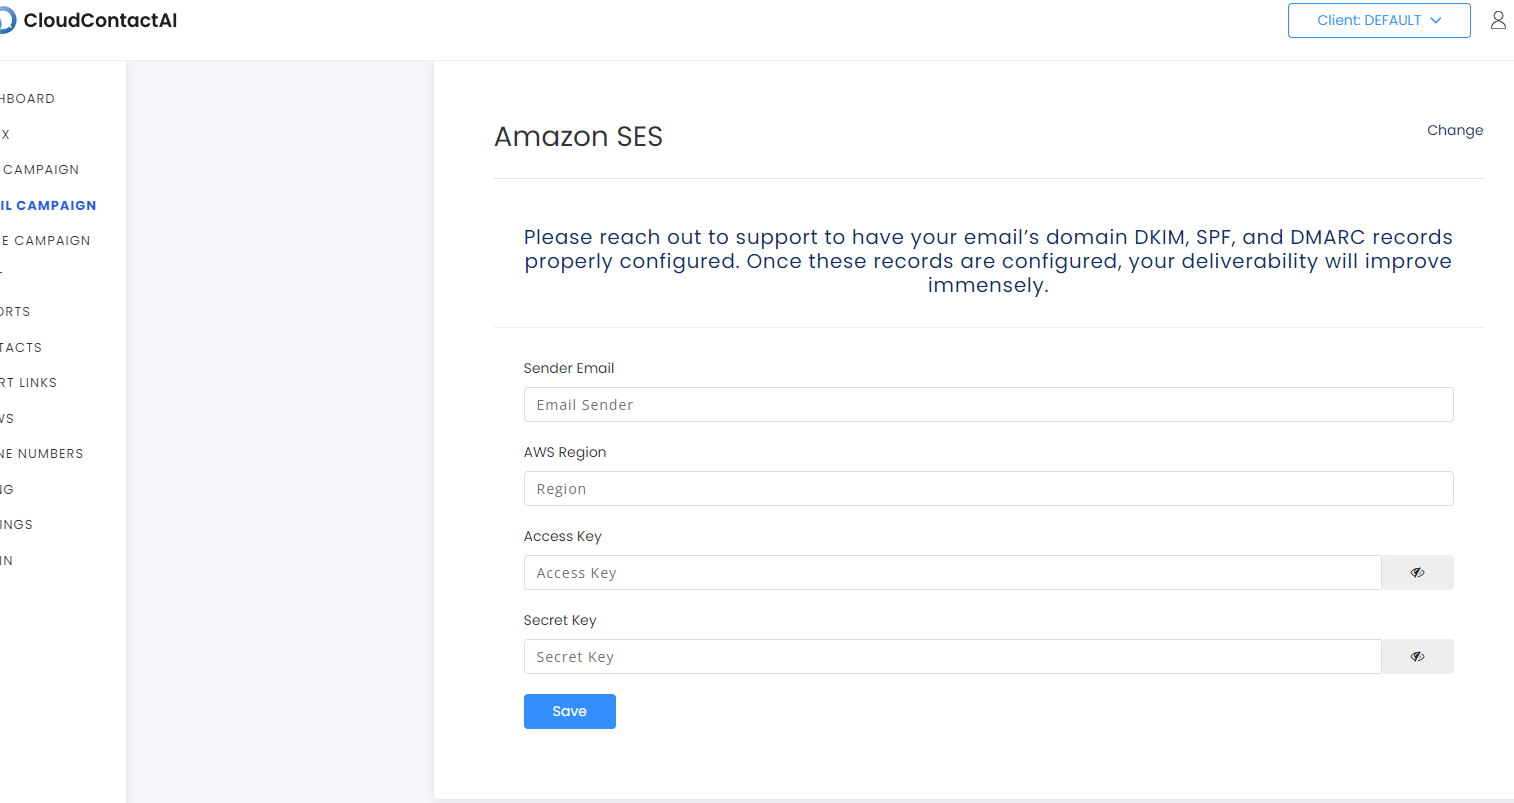
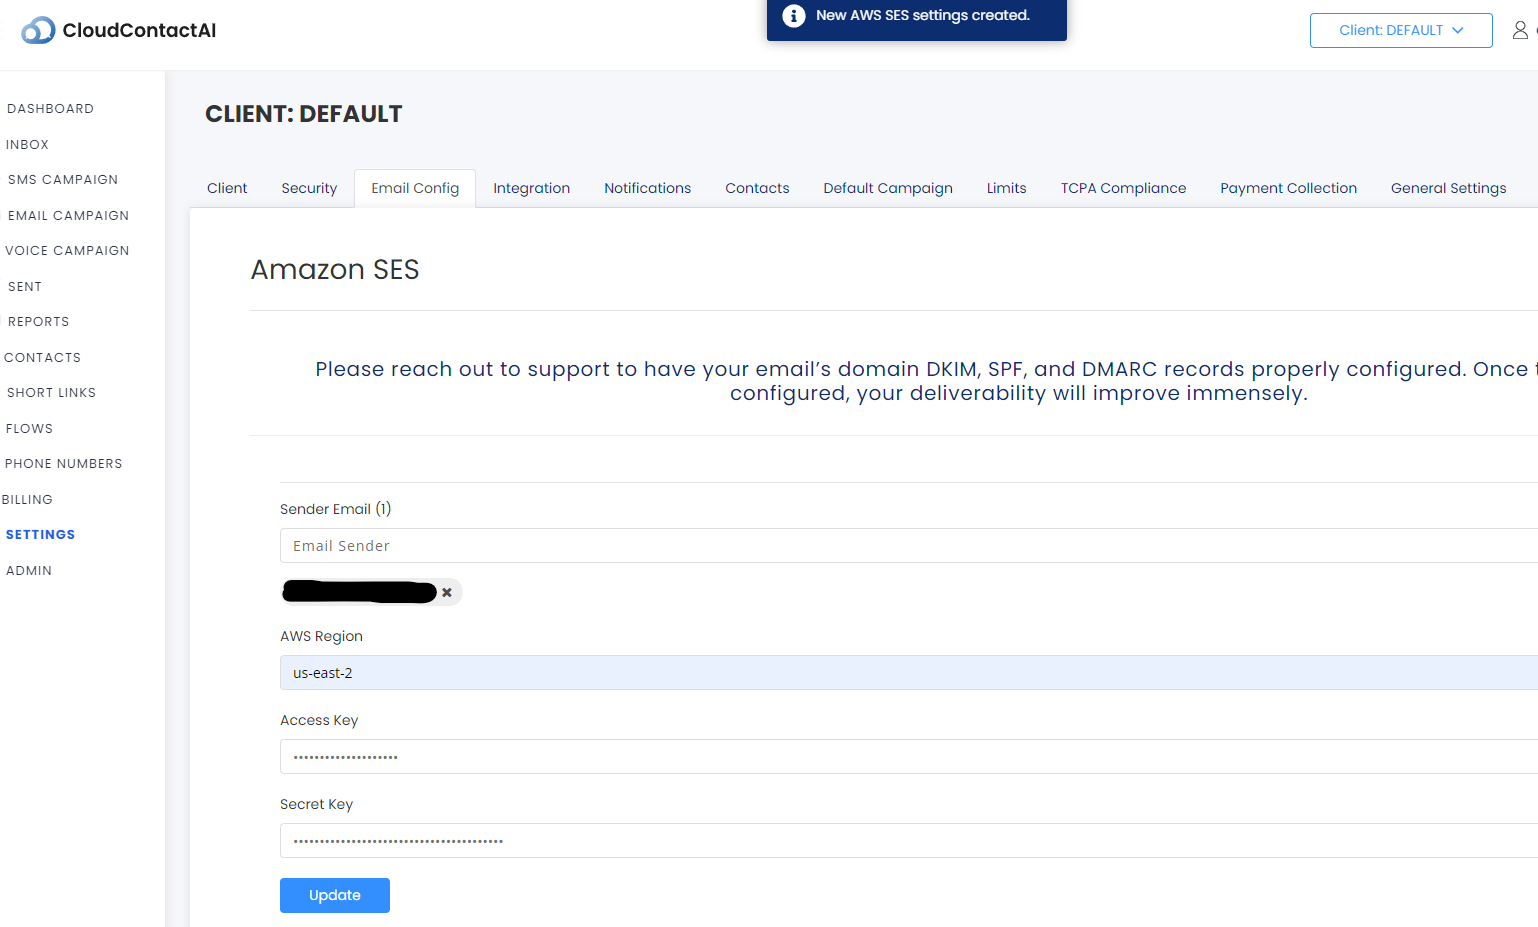
- Upon selecting Amazon SES, CloudContactAI will prompt the user for email that you'd like to send emails through, the AWS region the account is sending from, an IAM access key, and the corresponding secret key.
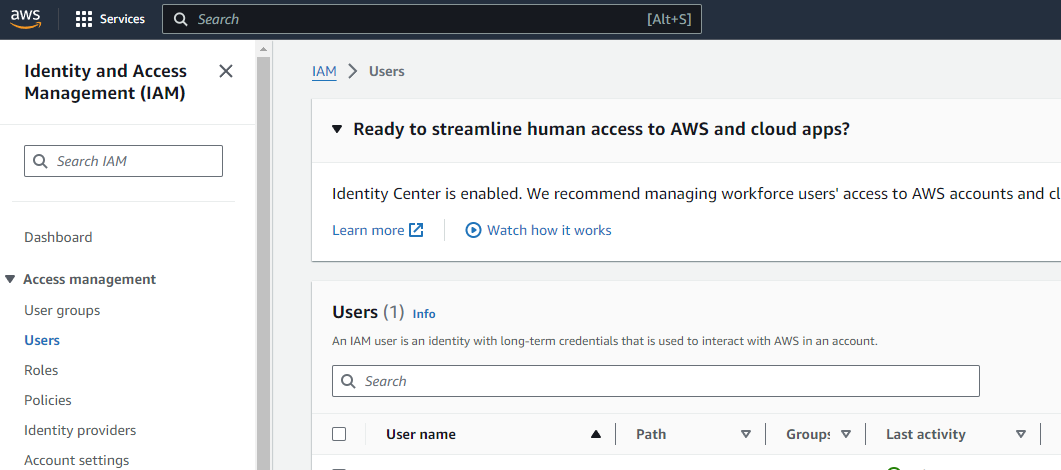
- Most likely, you won't have any of the above information, which means you'll need to login to an AWS account to provision as IAM user with keys and permissions to send emails and create SNS topics. Login to your AWS account, or have a CCAI Support Agent do this for you. Provision a new IAM user. For clarification, this needs to be done under IAM, not the IAM Identity Center.
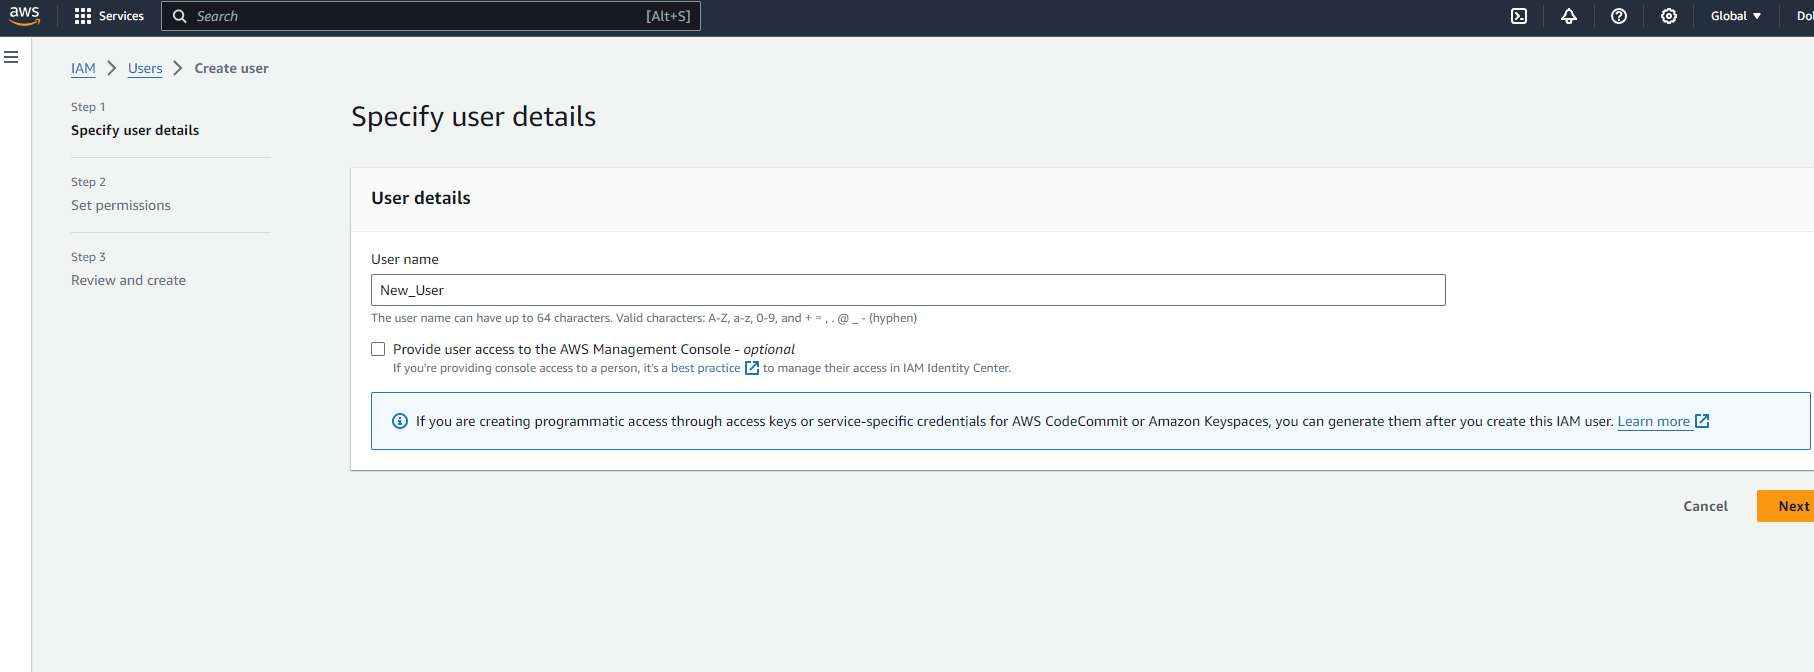
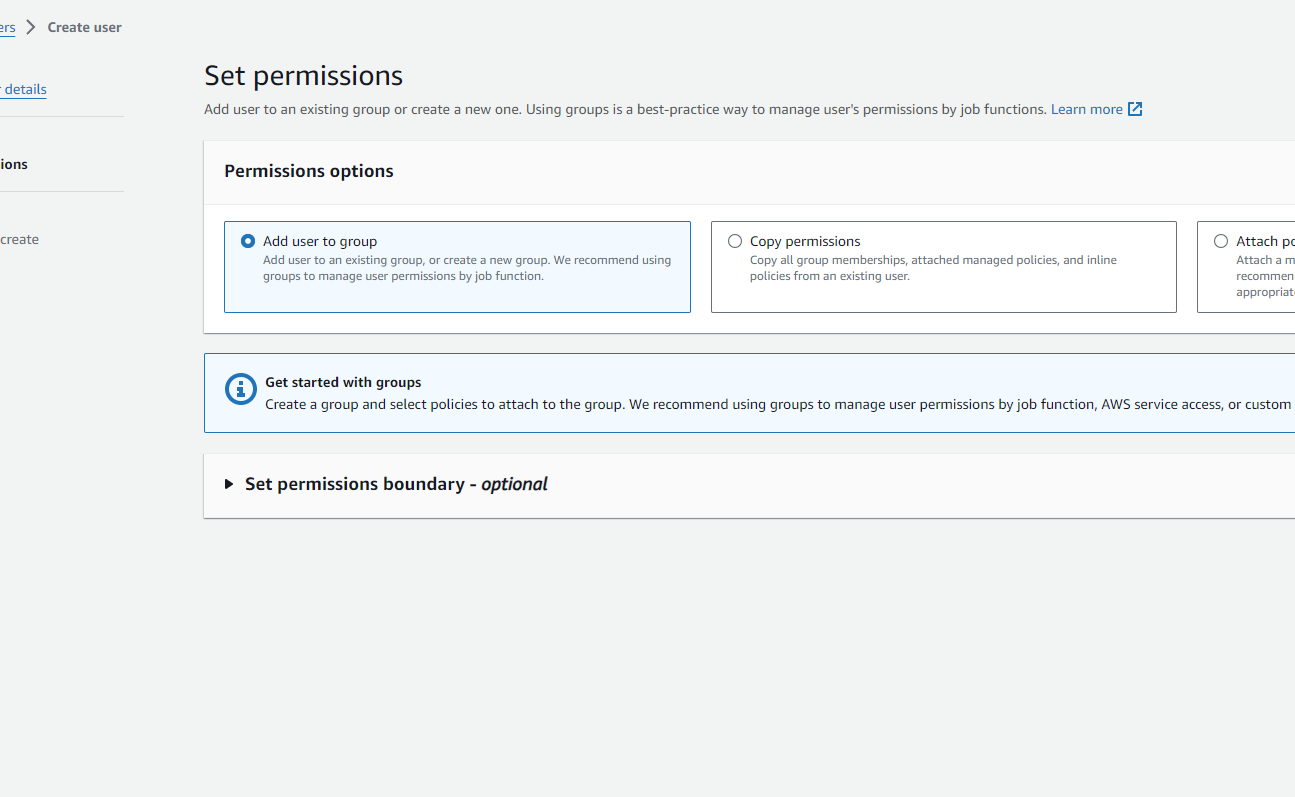
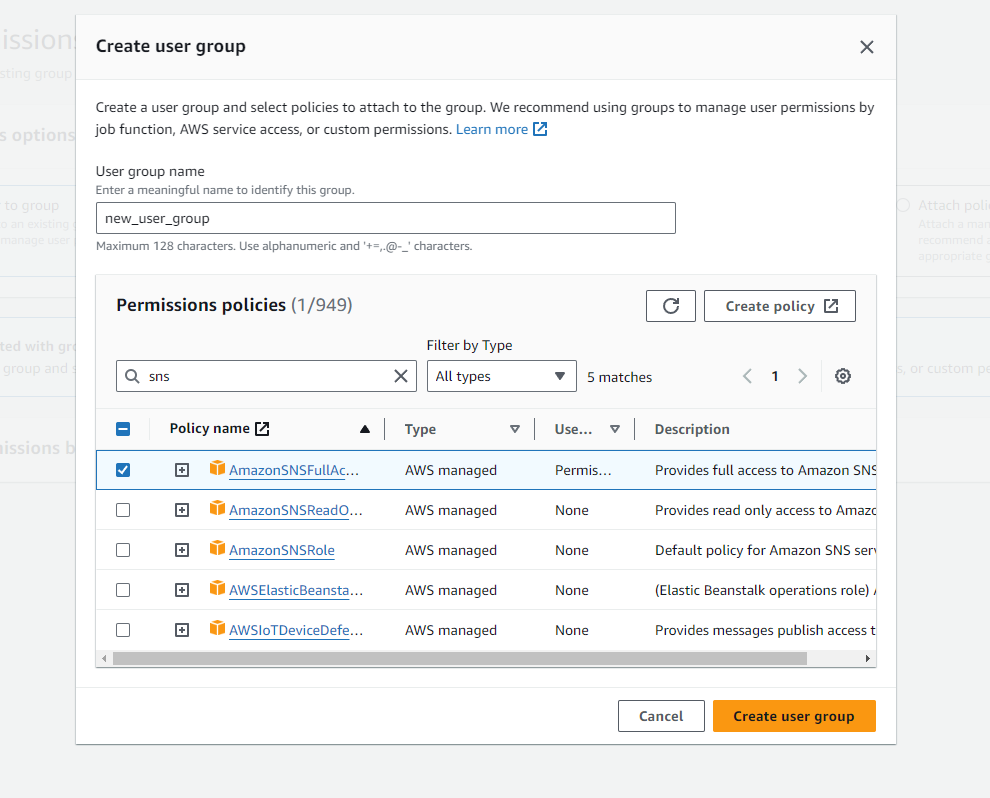
Building a new IAM user is straightforward. The important step is establishing the correct permissions to the IAM user. The following permissions needs to be associated to the user, AmazonSNSFullAccess and AmazonSESFullAccess. Forgetting either will cause an error if the user attempts to connect via CCAI. In the example below, we'll add a user to a group, and the permissions to the group.
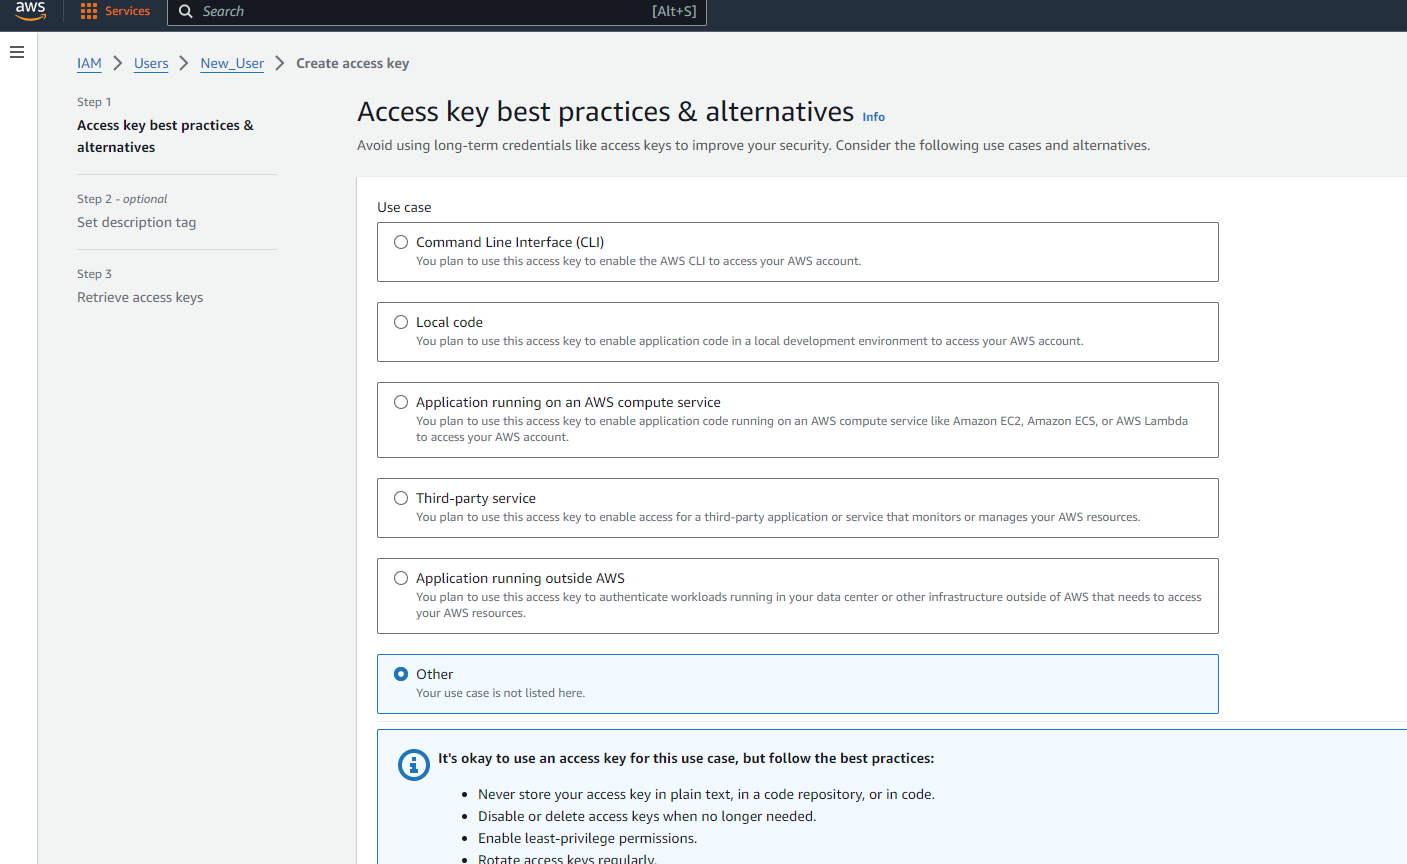
- The user will still need to add an access key. Drill into the new user from the user menu and select "create access key" at the top right. For the CCAI email use case, it's preferable to toggle "other" for the use-case and best-practices options. For convenience's sake, the user can either download the key as a CSV file or copy/paste the keys into a text file. In either case, these files should be carefully handled.

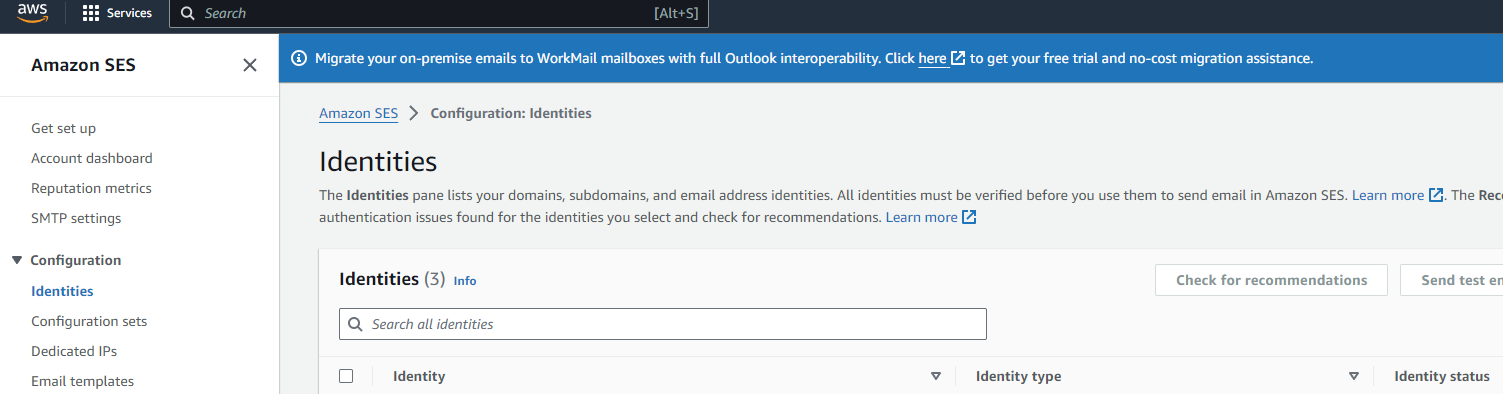
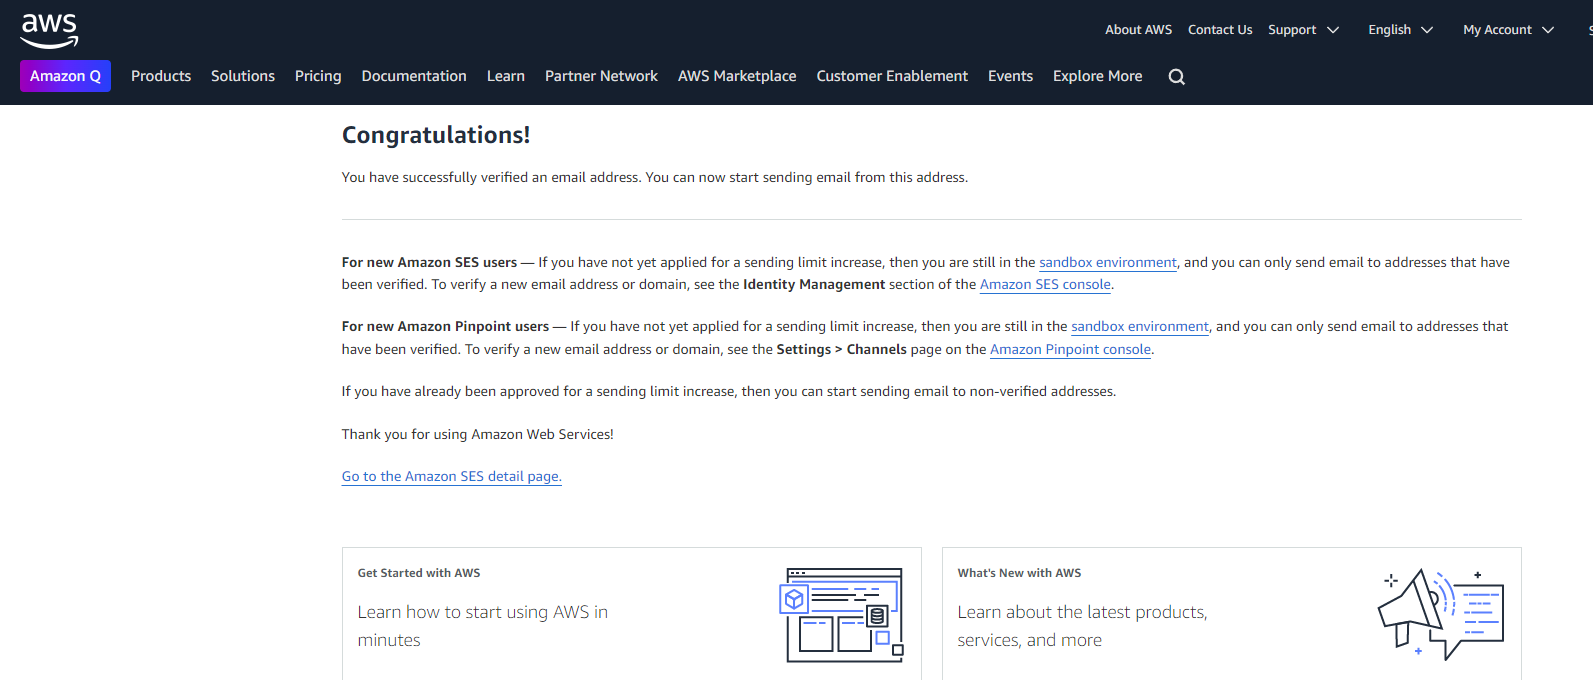
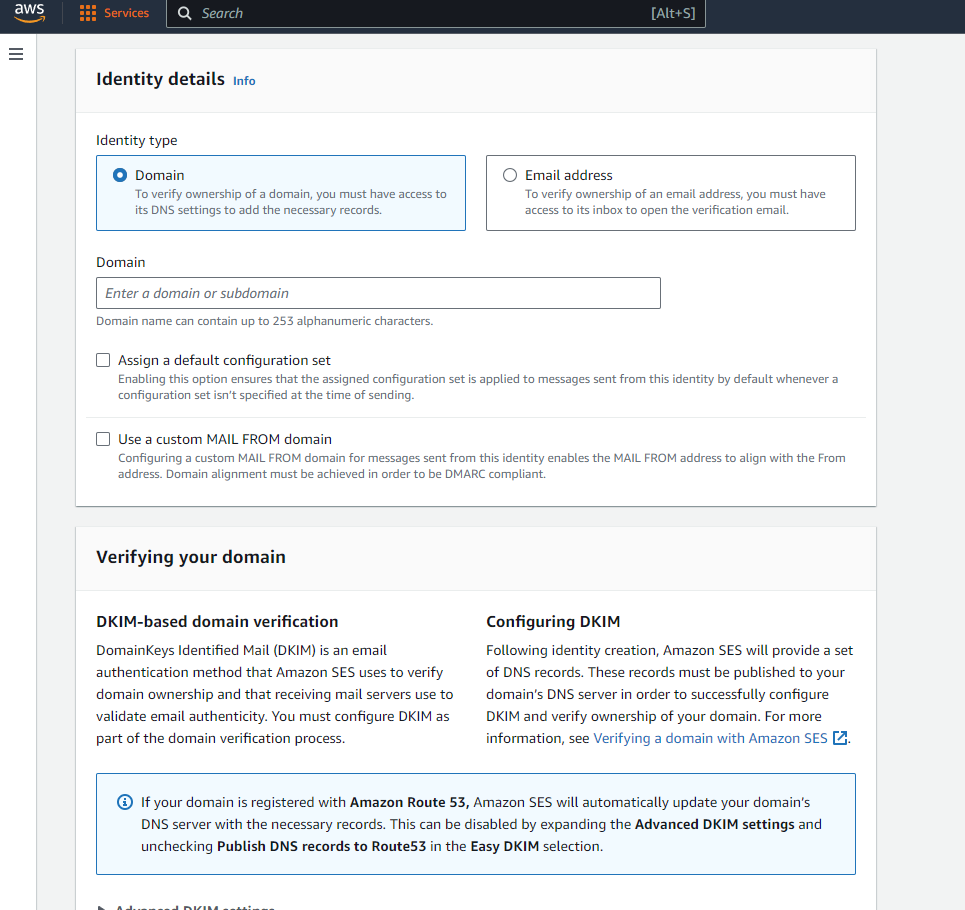
- Then the user will need to generate an email to send from and a profile for the domain they are using if they are using a unique email address. The option for generating a new email identity can be found under the "identities" tab on Amazon SES. AWS will then send the chosen email with a link to verify the address.

- Verifying a domain is a considerably more complicated process. AWS requires the user to upload the Domain Name System (DNS) records and methods of verification will differ based on the DomainKeys Identified Mail (DKIM) authentication option used. For more in-depth details about the steps needed to establish a domain, verify a domain, and troubleshoot domain verification, refer to the official AWS documentation.
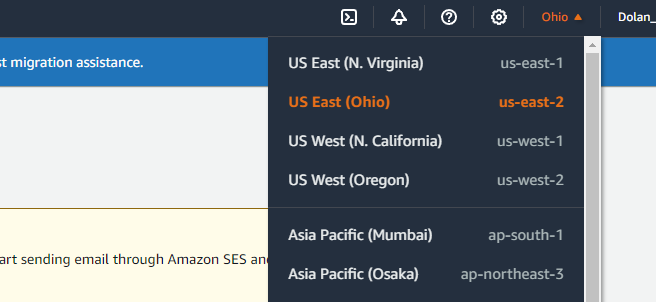
- Finally, there is the AWS region. The dropdown at the top-left of the screen will show the account's selected AWS region. If an email has already been established, it must be properly migrated if the region is changed.
- Insert the appropriate credentials into their respective boxes on CCAI and the CCAI account will be ready to use the email feature.
-
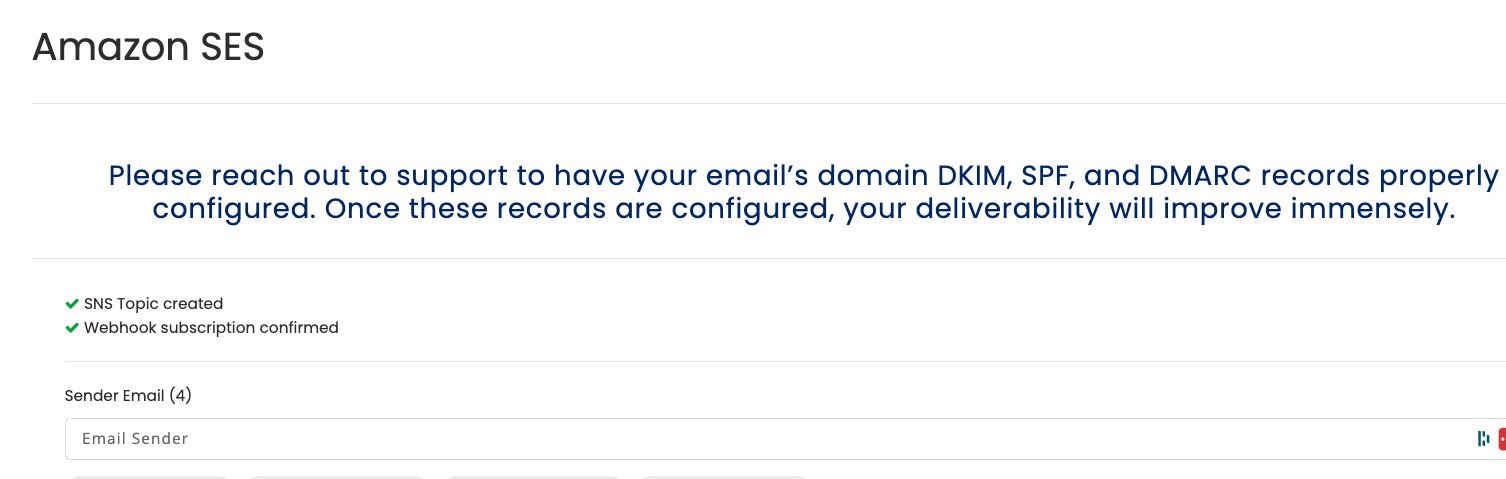
When you hit the Update button, CloudContactAI will go into your AWS account to create the configuration sets, topics, and event callback links. You'll see the following screen.
-
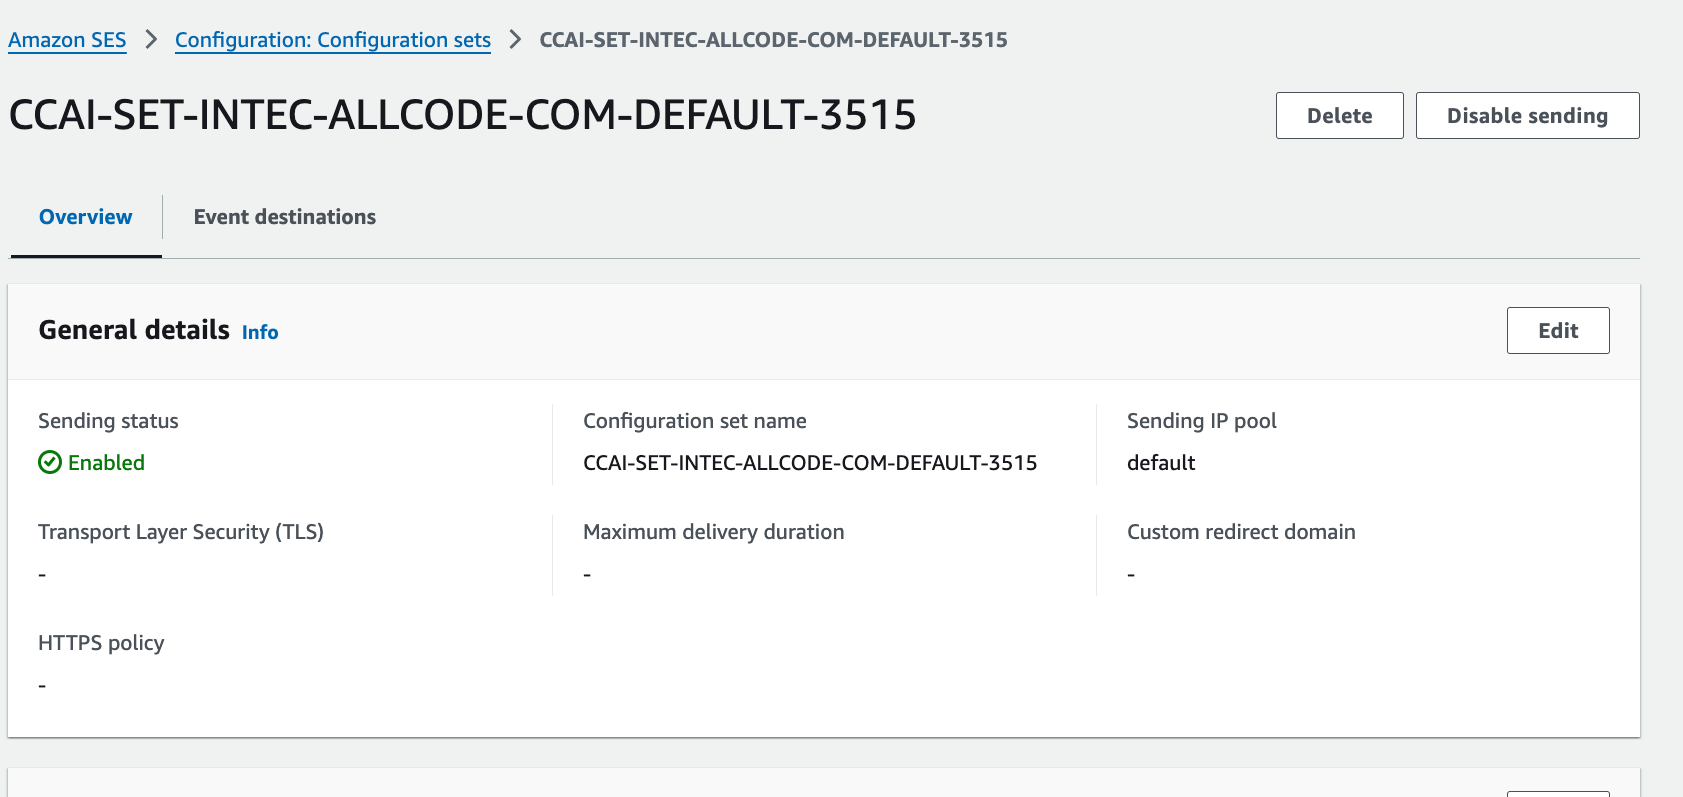
Underneath the covers, in your AWS, CloudContactAI creates the AWS SES Configuration set for you.
-
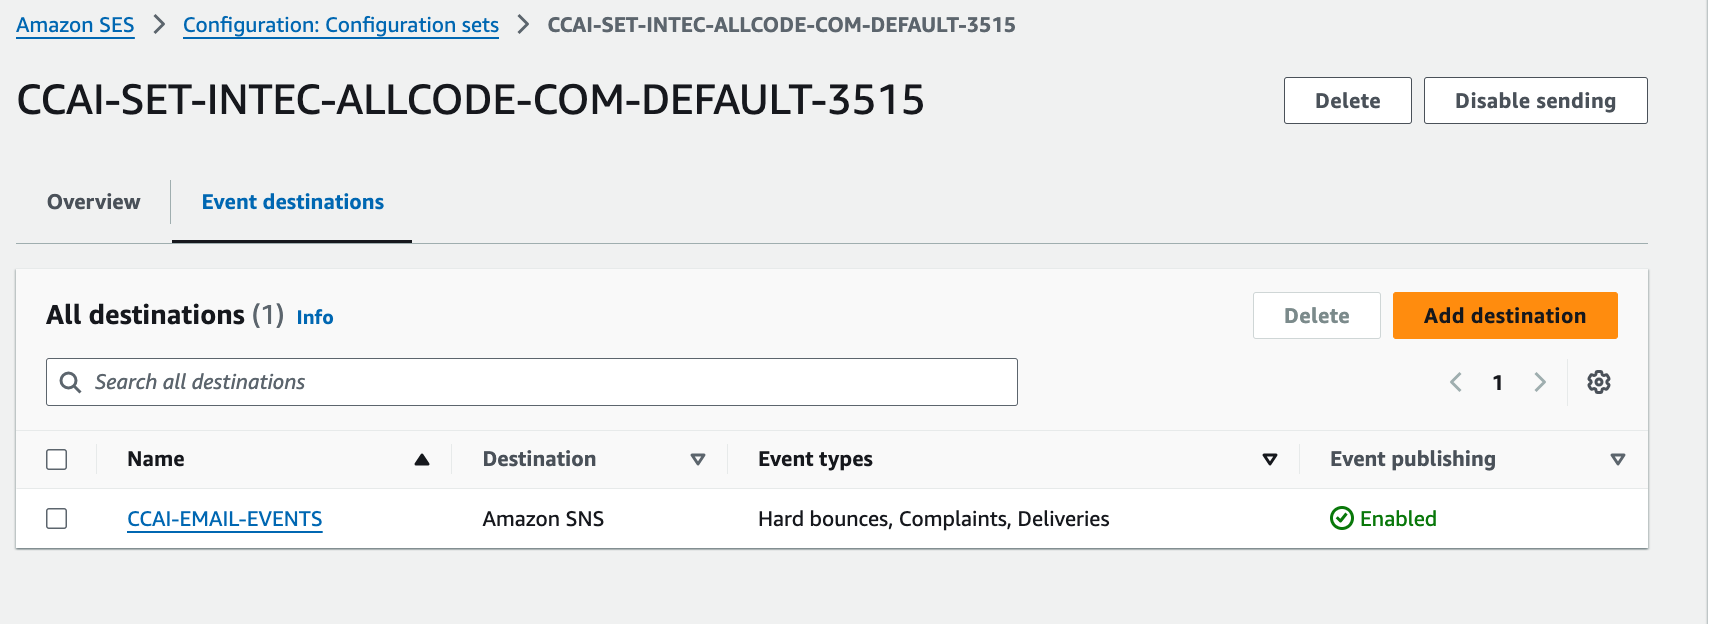
CloudContactAI will configure the Event destinations for you to handle Hard bounces, Complaints, and Deliveries
-
The Email Events will make use of an AWS SNS Topic
-
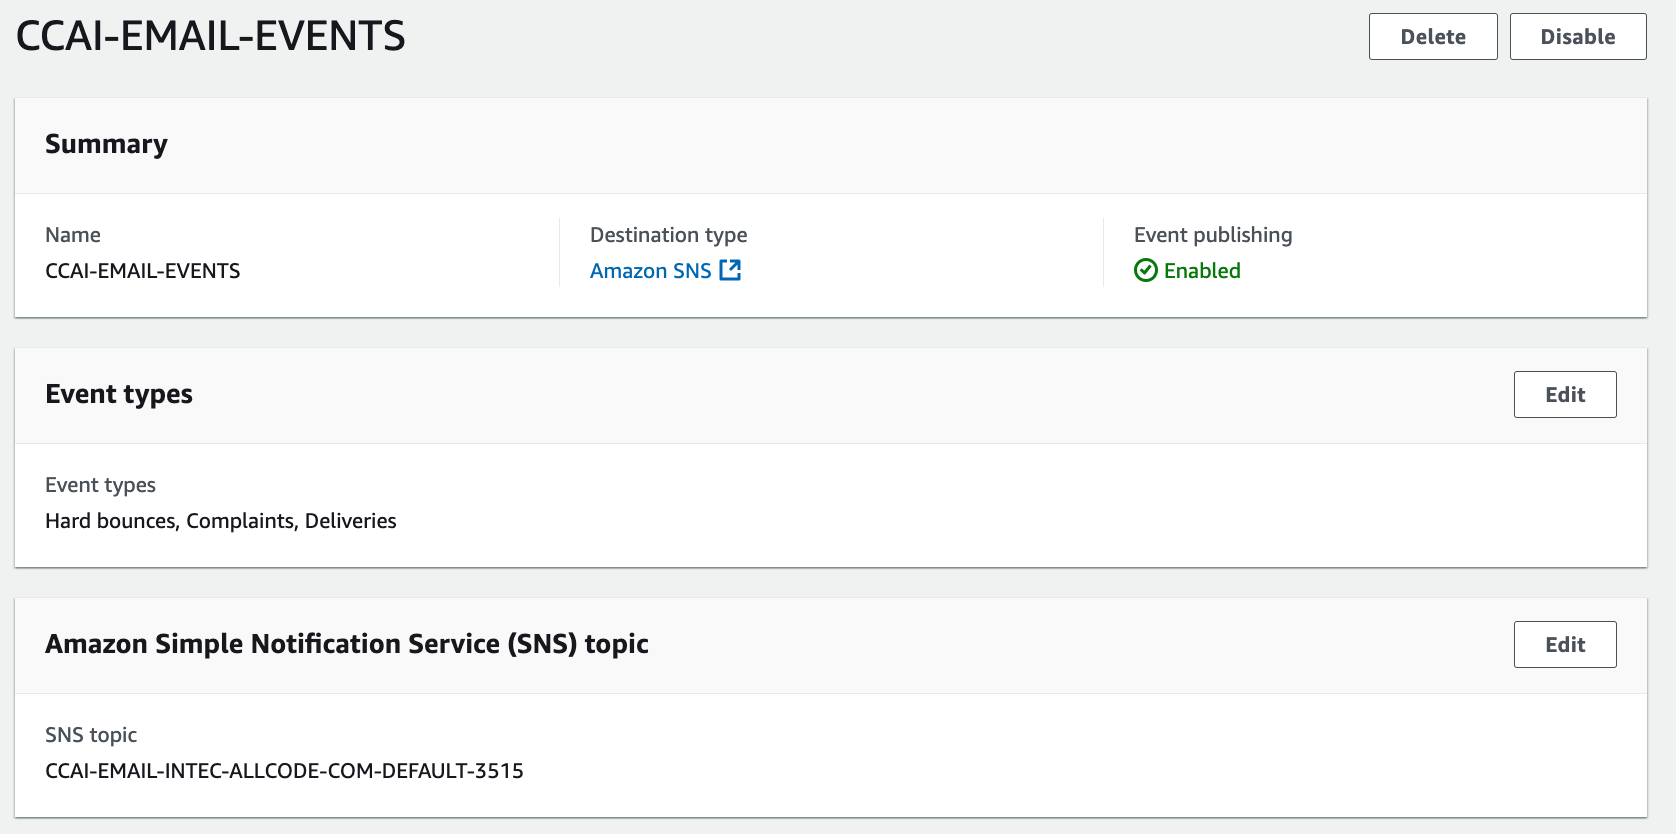
The AWS SNS Topic will route these events back to a CloudContactAI endpoint to update your Contacts in CCAI.
-

You should be good to go!
Updated 3 months ago